Whether you’re making a DIY birthday banner or alphabet garland for bedroom decor, this letter bunting tutorial is easy and fun! With just a few materials and little to no sewing knowledge, you can make beautiful and timeless decorations.

Today I will be sharing with you how you can make your own letter bunting. These are so simple to create and would make beautiful decorations to be reused year after year.
This alphabet garland is also extremely affordable! I purchased all my fabrics from thrift stores for only a few dollars each, and some were even free!
In this post, you will learn all the materials needed, step-by-step how to make, as well as FREE LETTER PATTERNS!
Beginner-Friendly Letter Bunting Tutorial
Materials & Equipment
- Fabric
- Stuffing
- Thread
- Pins
- Scissors
- Ribbon
- Sewing Machine
Step 1: Download & Print Bunting Letter Patterns
To begin, download your letter patterns using the free printables below. I have included the whole alphabet so you have the option to create any names or other words.
After choosing which letters your design will need, print the letters on A4 paper.
Step 2: Cut Out Pattern Pieces
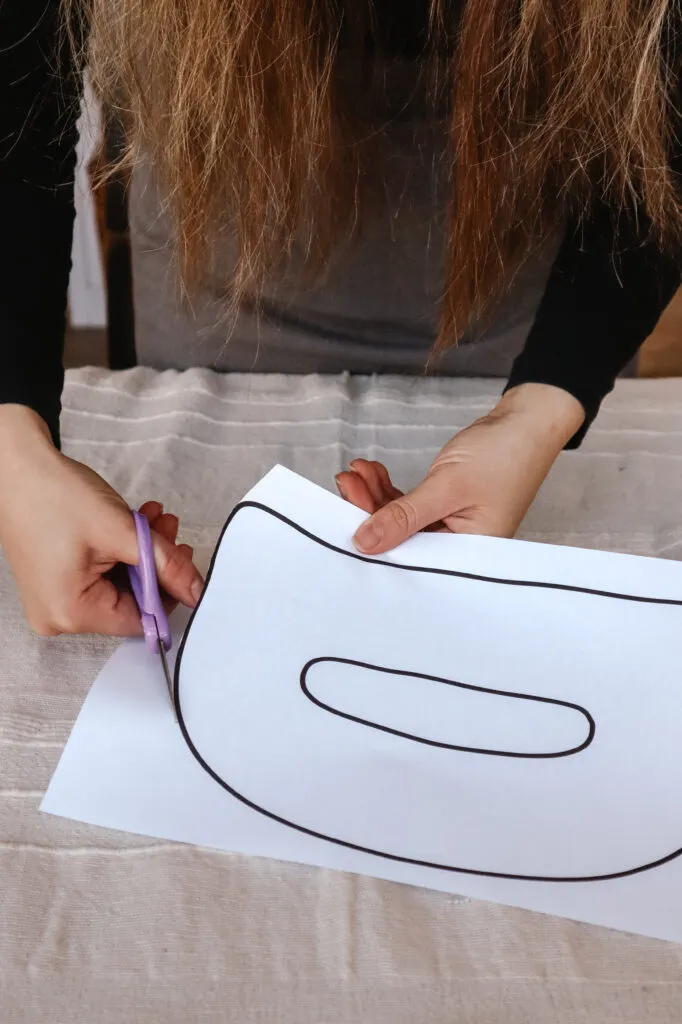
Cut around the outside and inside holes of each letter pattern.
Step 3: Pin Pattern to Fabric & Cut Out
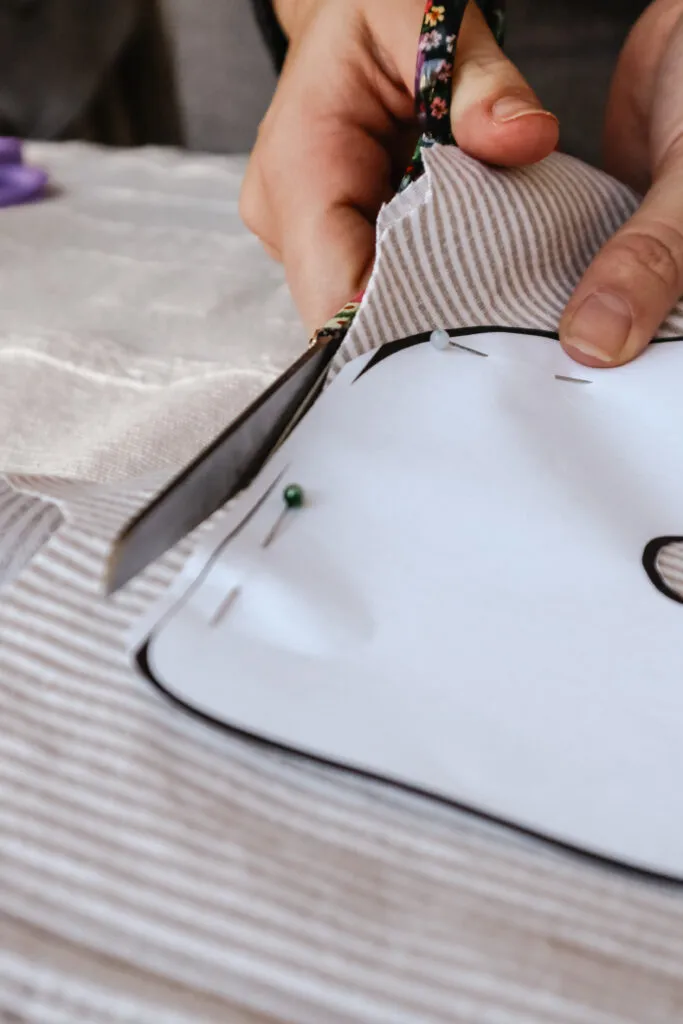
Fold your fabric in half with good sides facing out. Pin your pattern to the top and cut around your pattern.
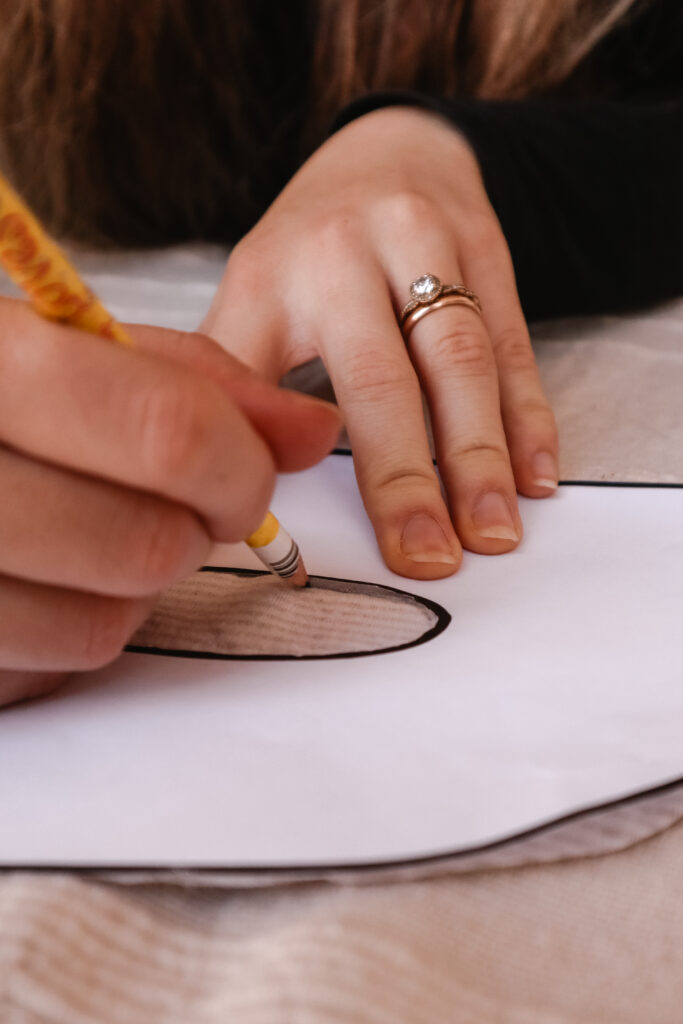
When cutting out your letter insides, on the backside of your fabric pieces, trace the inside of the letters with a pencil or chalk.
Step 4: Create Loops
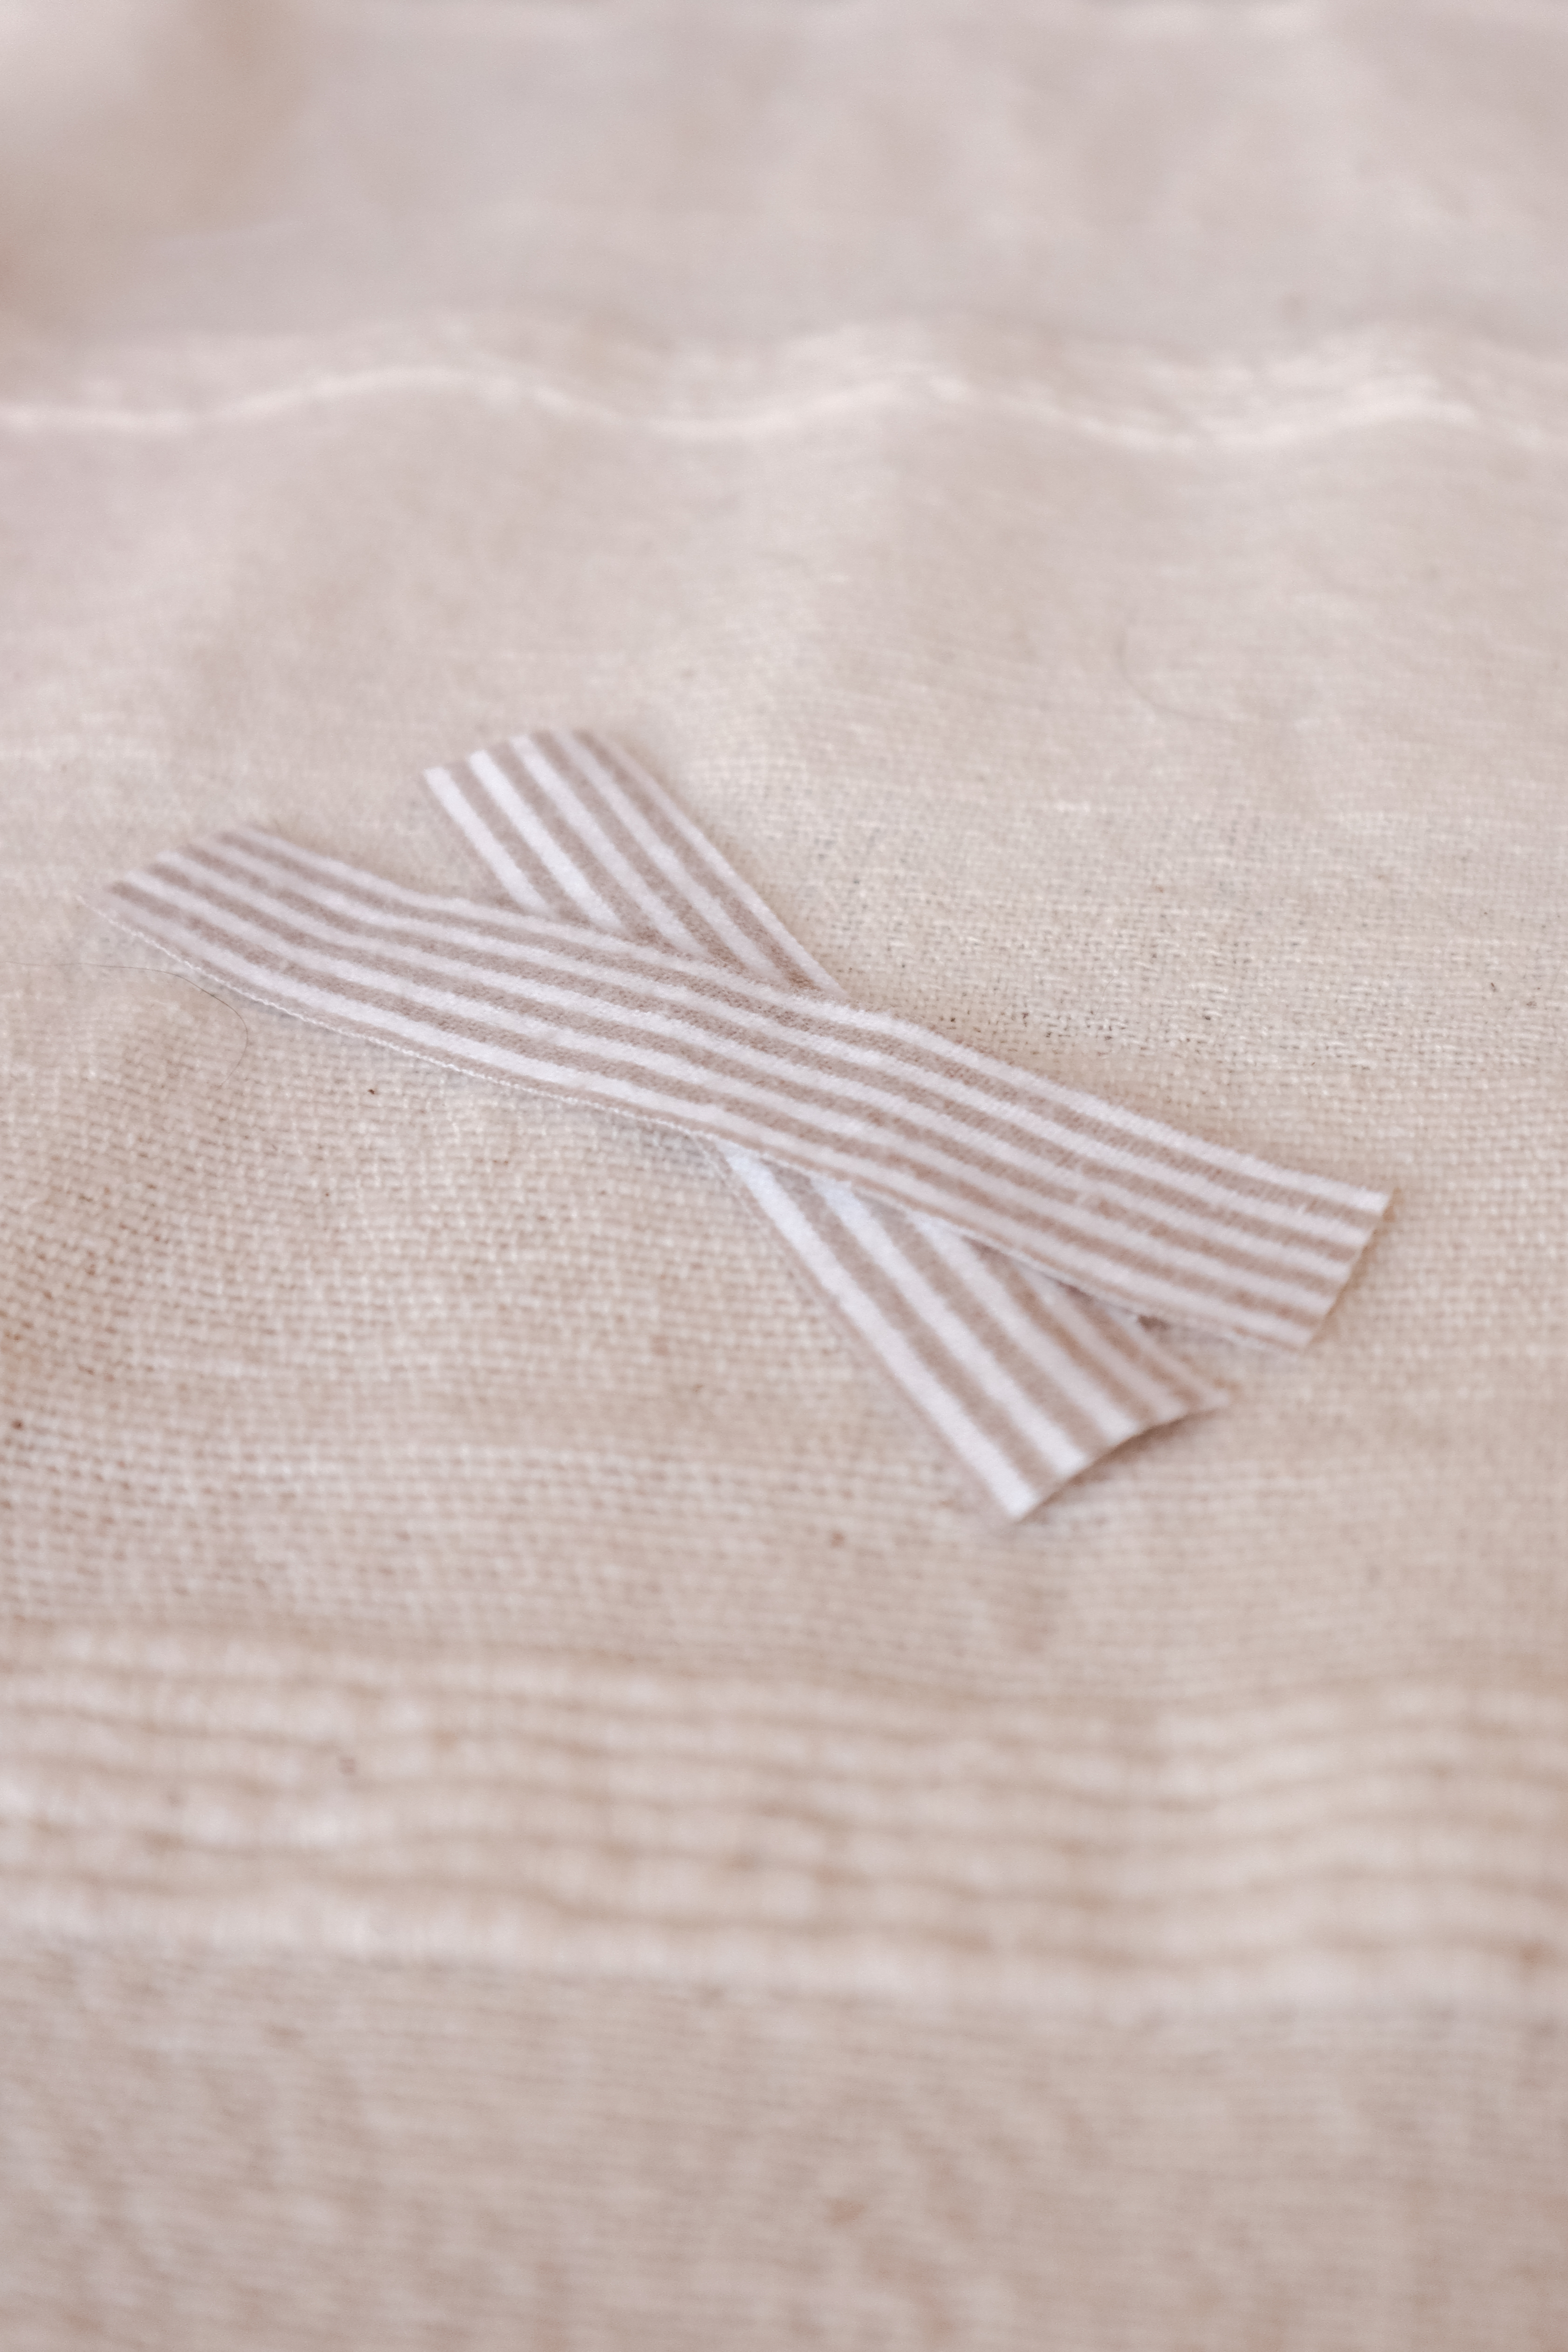
Cut 2 strips of fabric about 1.5cm wide and 7cm long.
Step 5: Pin Your Pieces Together
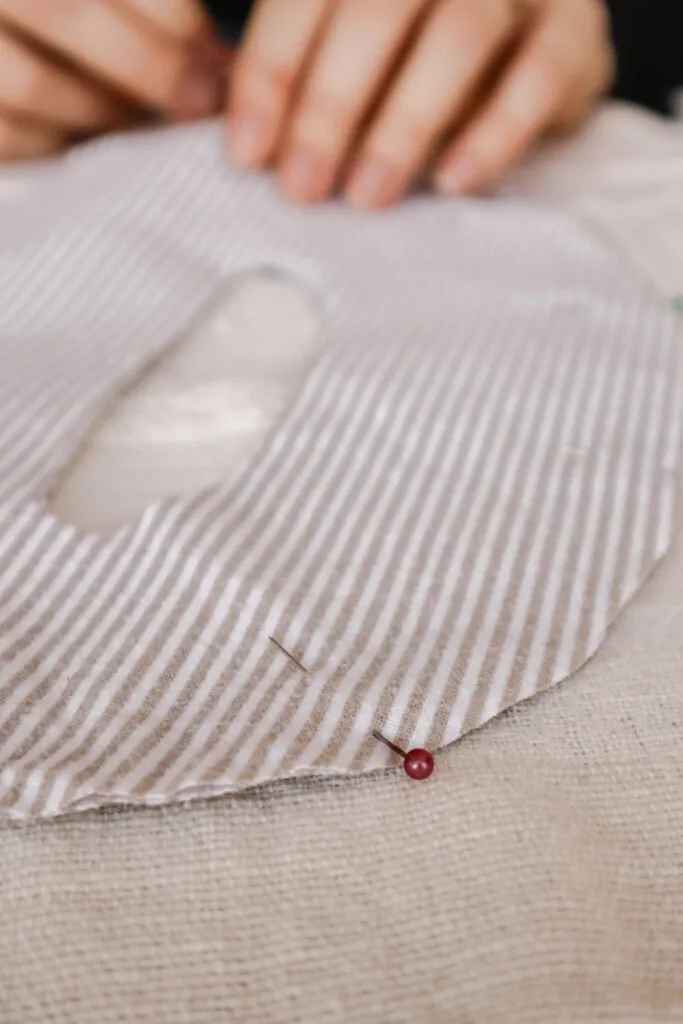
Fold your loop pieces in half and begin by pinning them inbetween your front and back pieces at the top of the letter.
Then, pin around the rest of the letter.
Step 6: Sew your Pieces Together
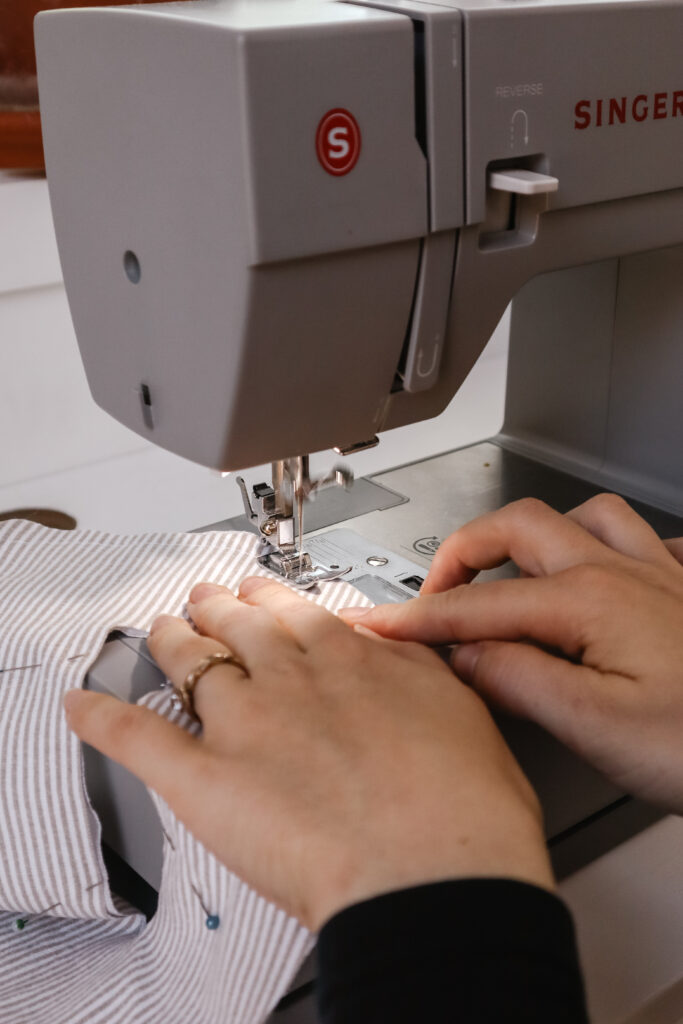
Choose a thread that matches your fabric and with a 1.5cm seam allowance, stitch around the outside of your letter. Do not stitch closed, instead leave an opening roughly 5cm.
For the inside cut-out stitch around the opening, again with a 1.5cm seam allowance.
Step 7: Stuff & Stitch Shut
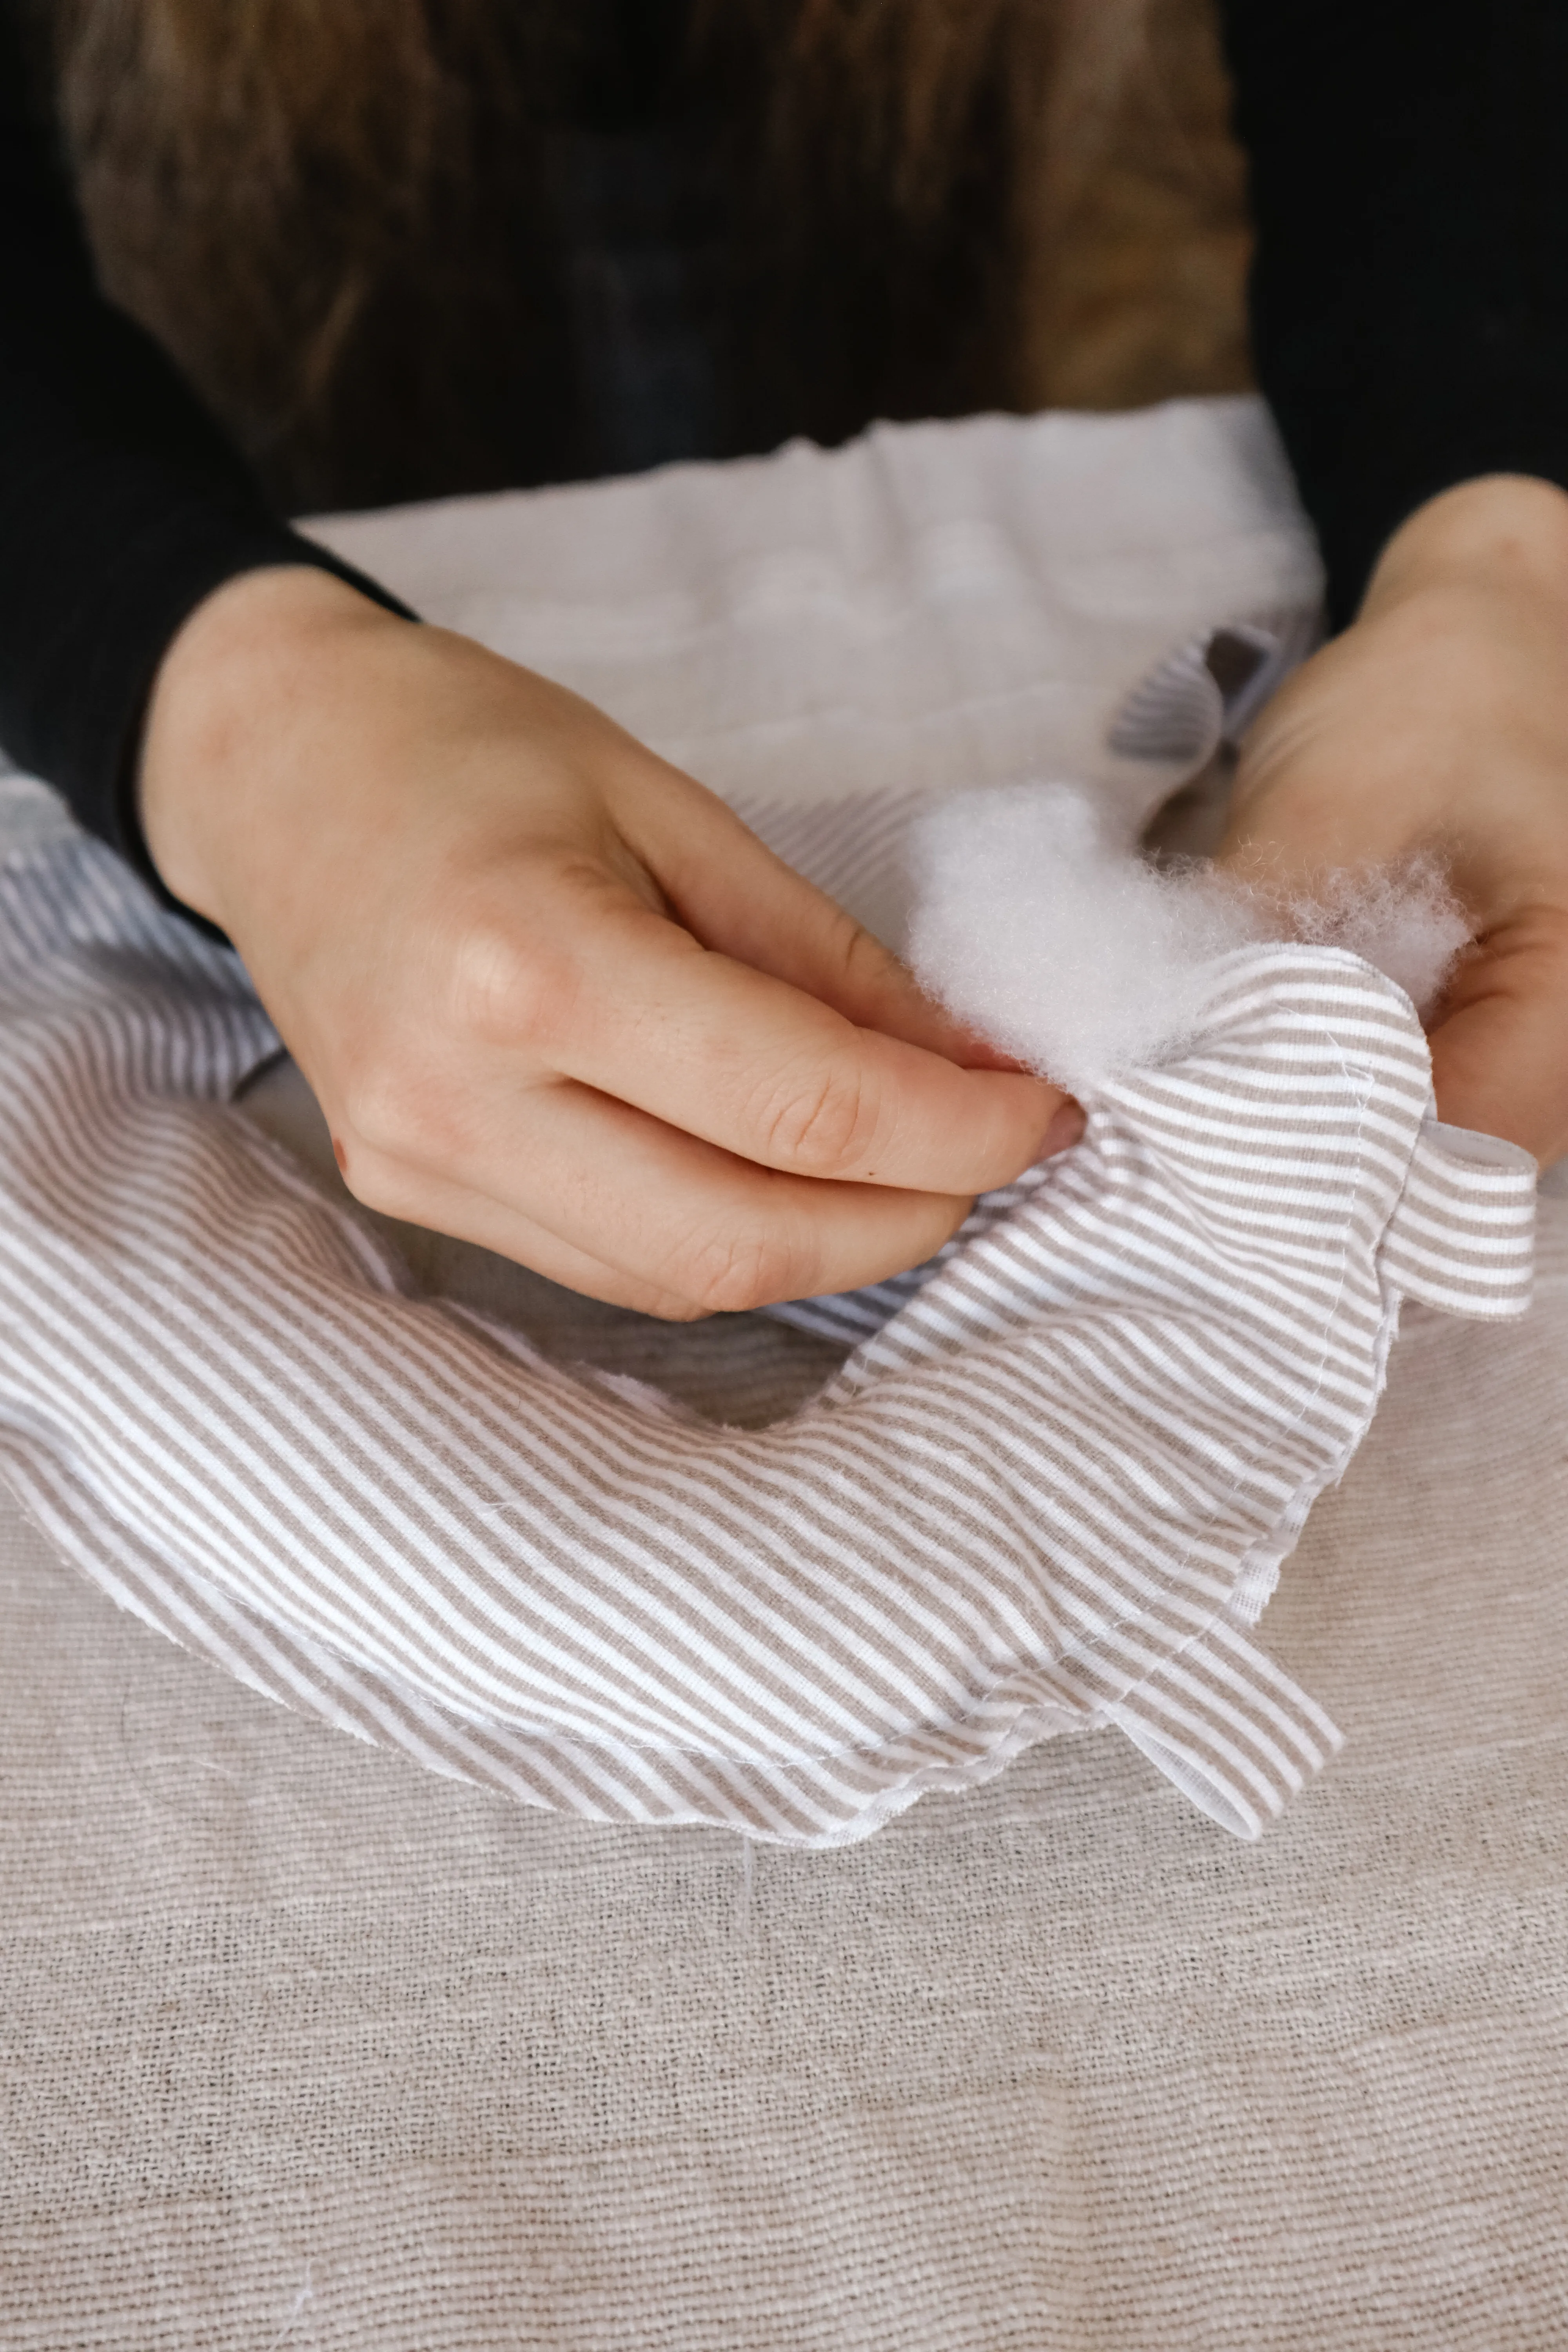
Evenly stuff your letter and stitch the opening closed. Make sure to trim any excess threads.
Repeat all the previous steps for each of your letters.
Step 8: Thread Your Letters onto the Ribbon
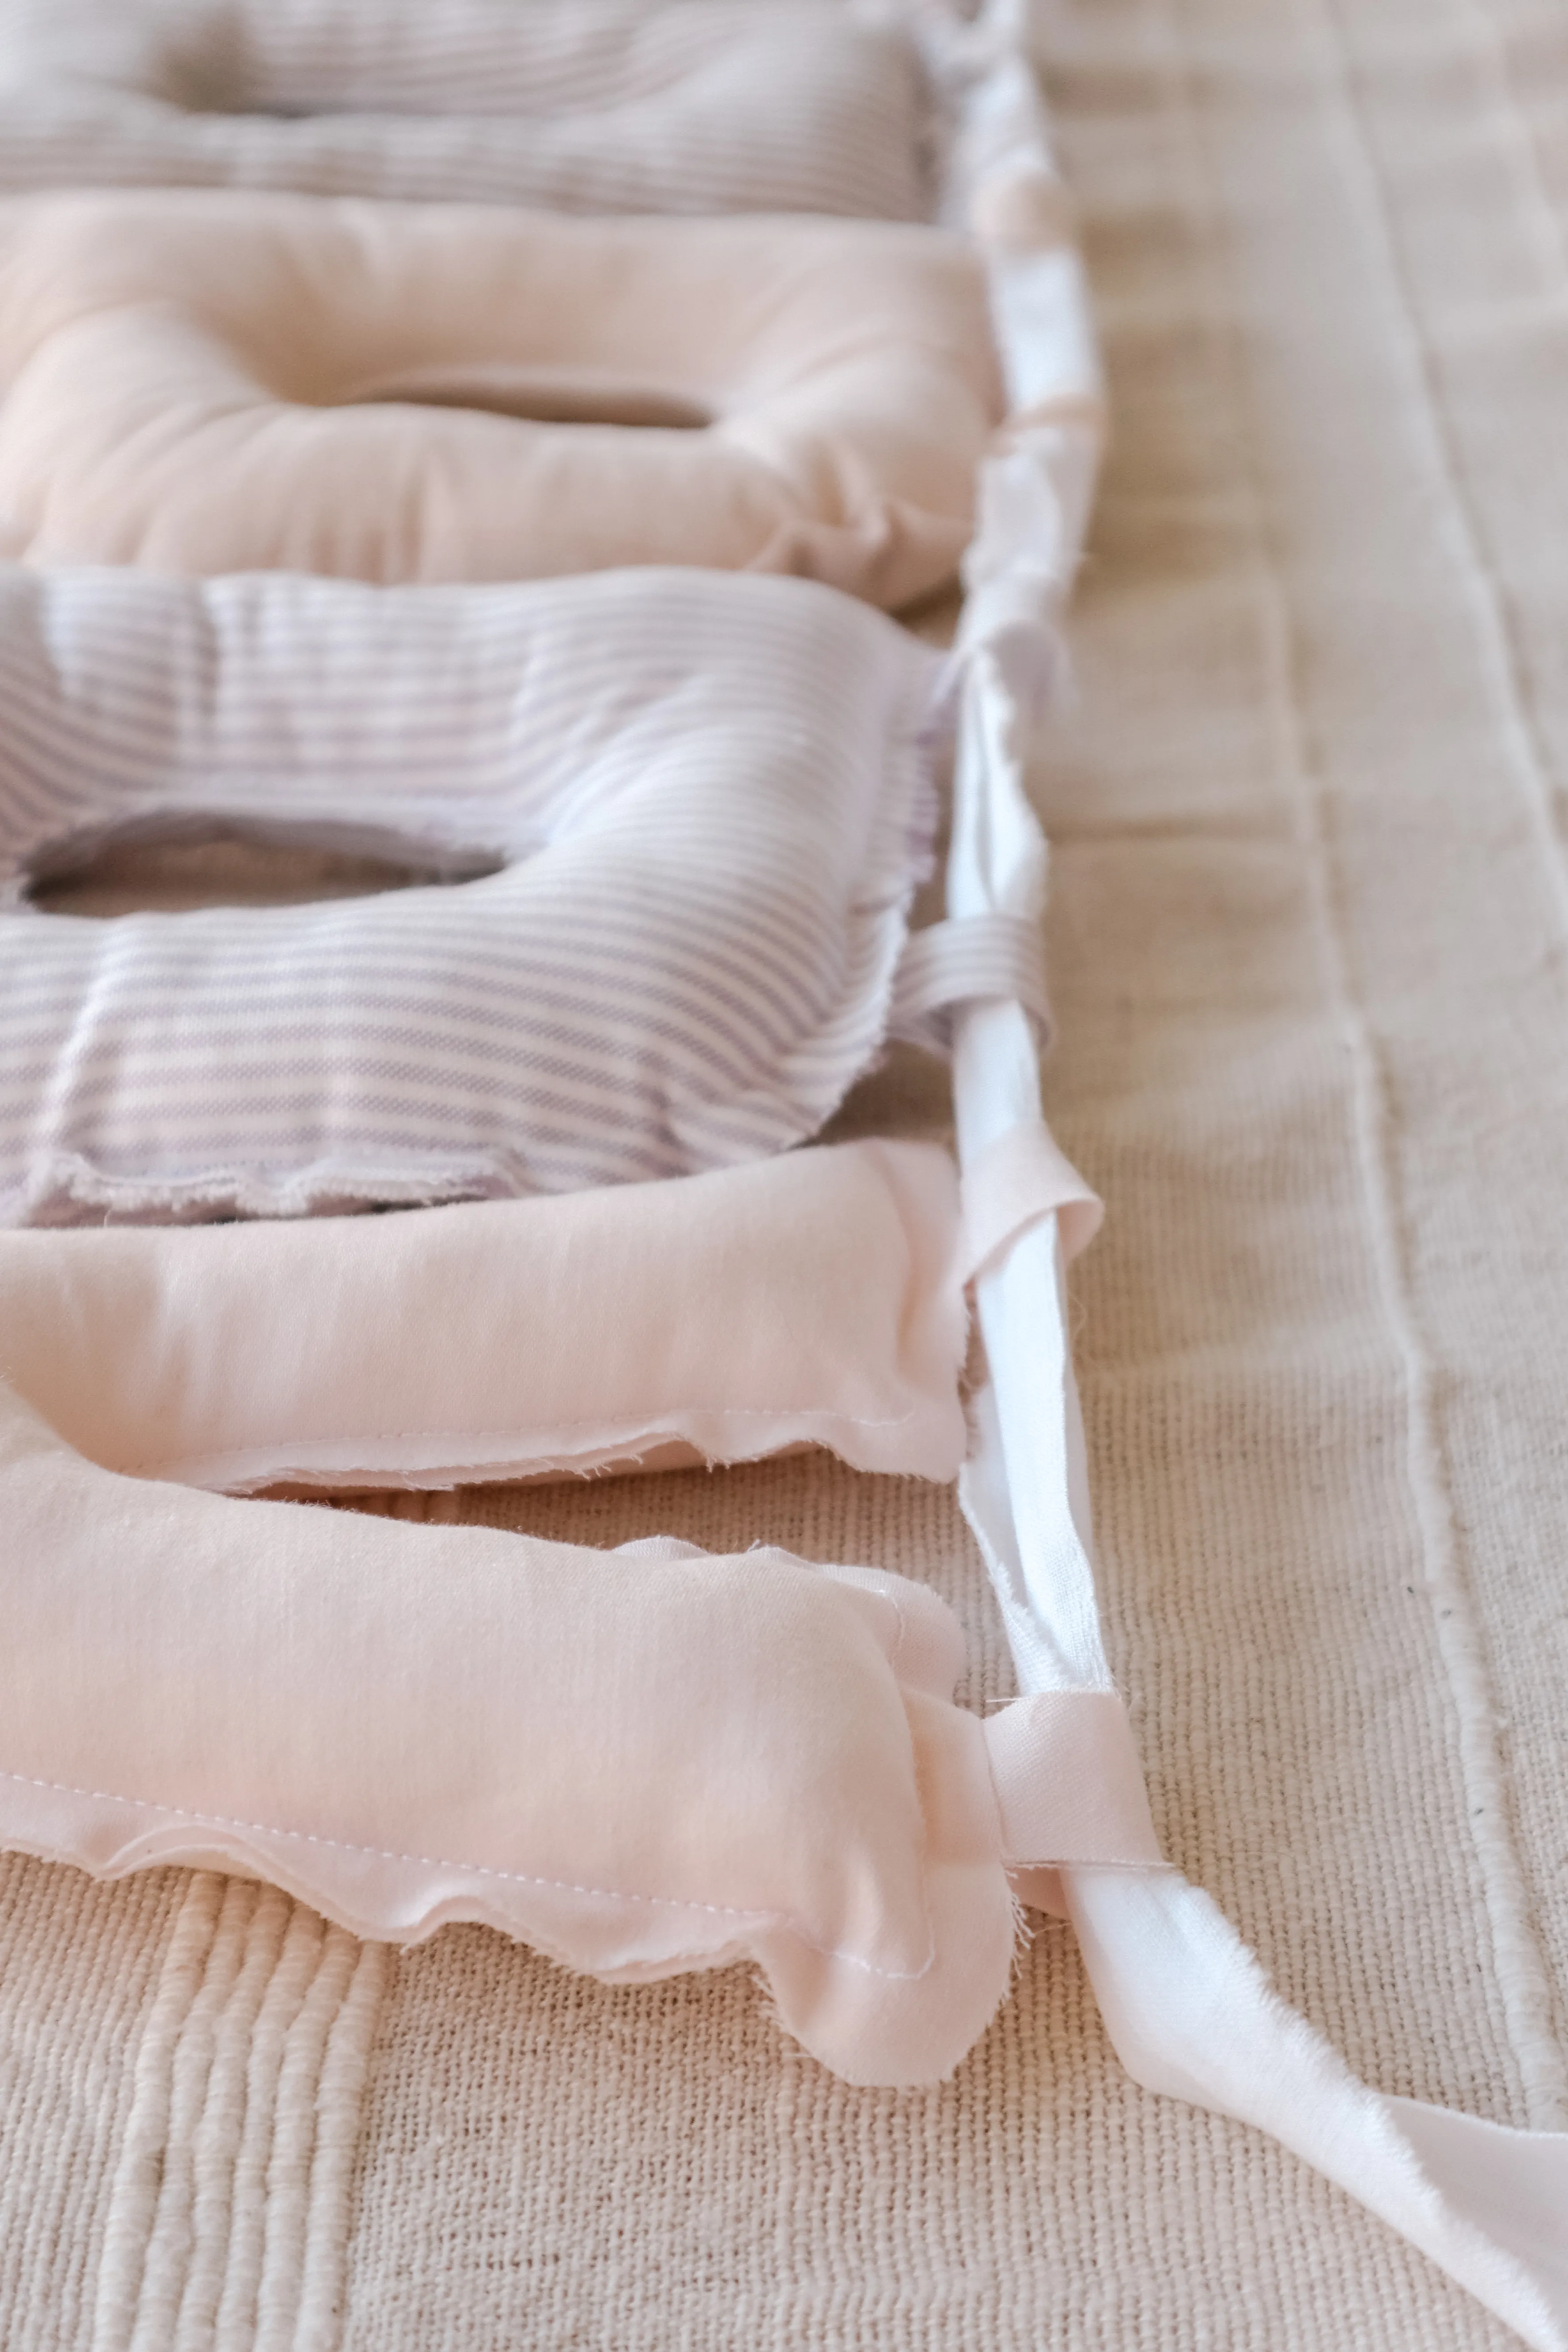
For the bunting ribbon, I made my ribbon from a white cotton sheet, torn to about 4cm wide. This gave a very natural and soft effect.
Thread all your letters evenly on your ribbon.
The Finished Letter Bunting!
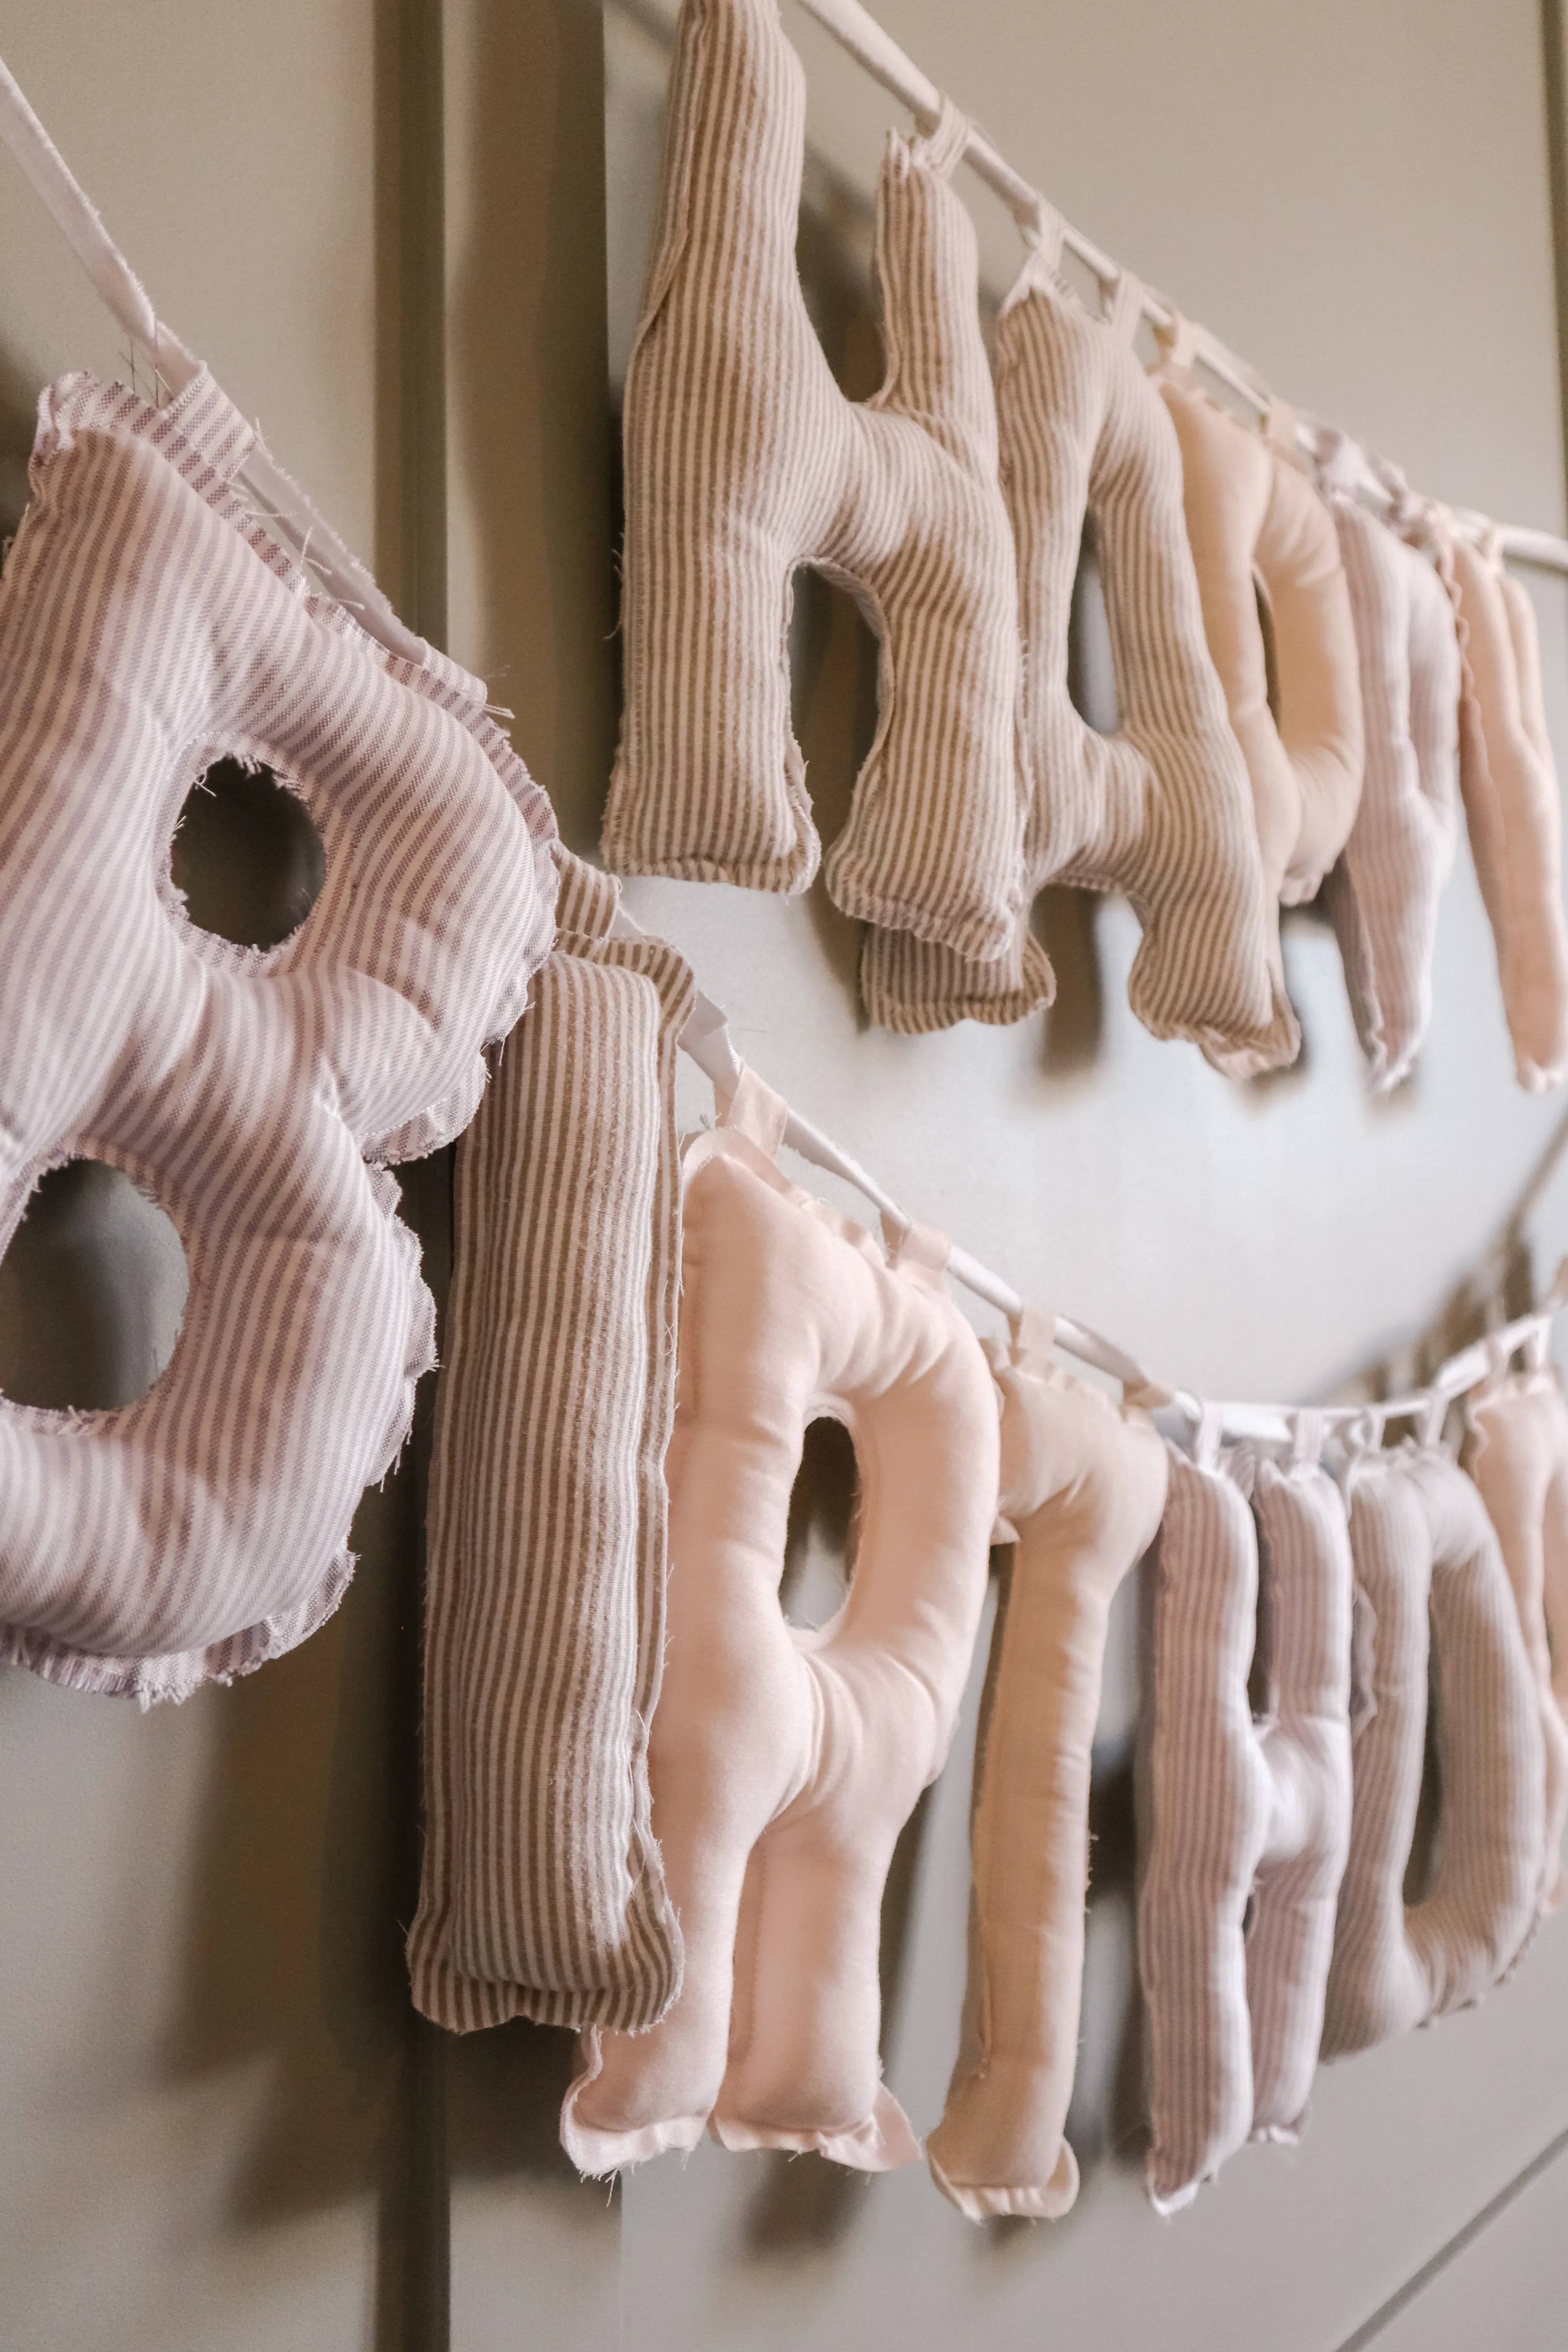
And you’re done! Your bunting is ready to hang and enjoy.