Napkins are a beautiful and essential detail to a table setting which can add texture and color to your table. With this fringed napkin tutorial, you will learn everything you need to know to make your own beginner and budget-friendly napkins to elevate your next event.
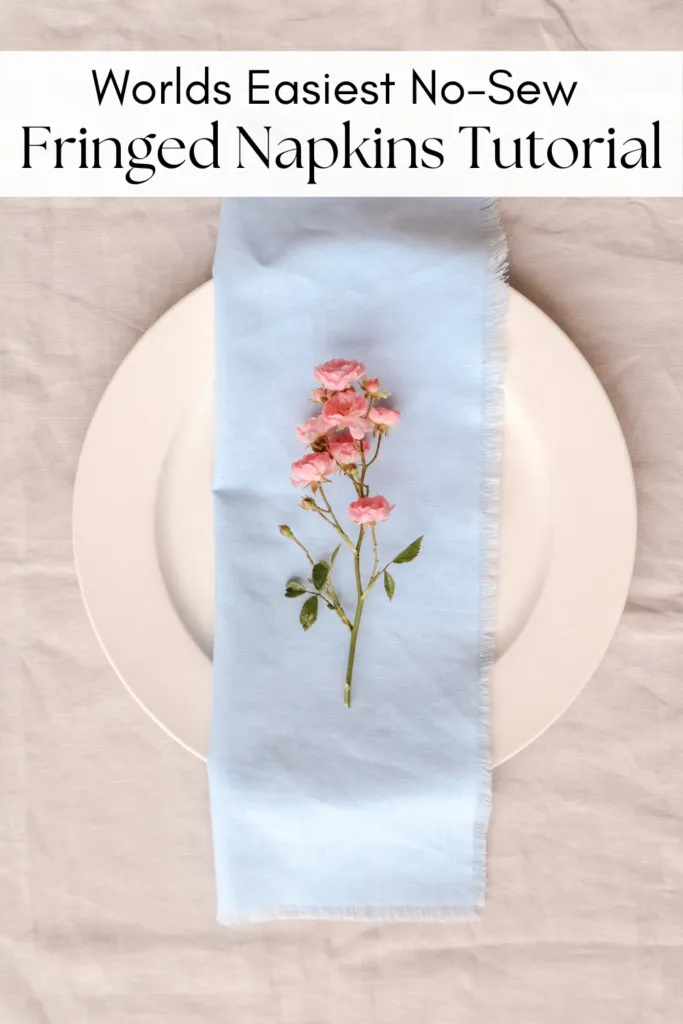
When organising a formal dinner for nearly 20 guests I struggled to find napkins in the correct color and style that were within my budget.
Thankfully necessity is truly the mother of invention!
I found the perfect cotton-fringed napkins online.. but for $9 a piece! However, by following the steps in the below post, I was able to create all the napkins for just 50 cents!
In this tutorial, I will walk you through step-by-step how to make your own no-sew napkins without any prior skills or sewing!
By following these steps you will create your own elegant napkins that suit your party perfectly!
No-Sew Fringed Napkin Tutorial
Material:
- Cotton or Linen (woven fabric)
- Chalk
- Scissor
- Iron (optional)
How to Make Fringed Napkins:
Step 1: Choosing Your Fabric
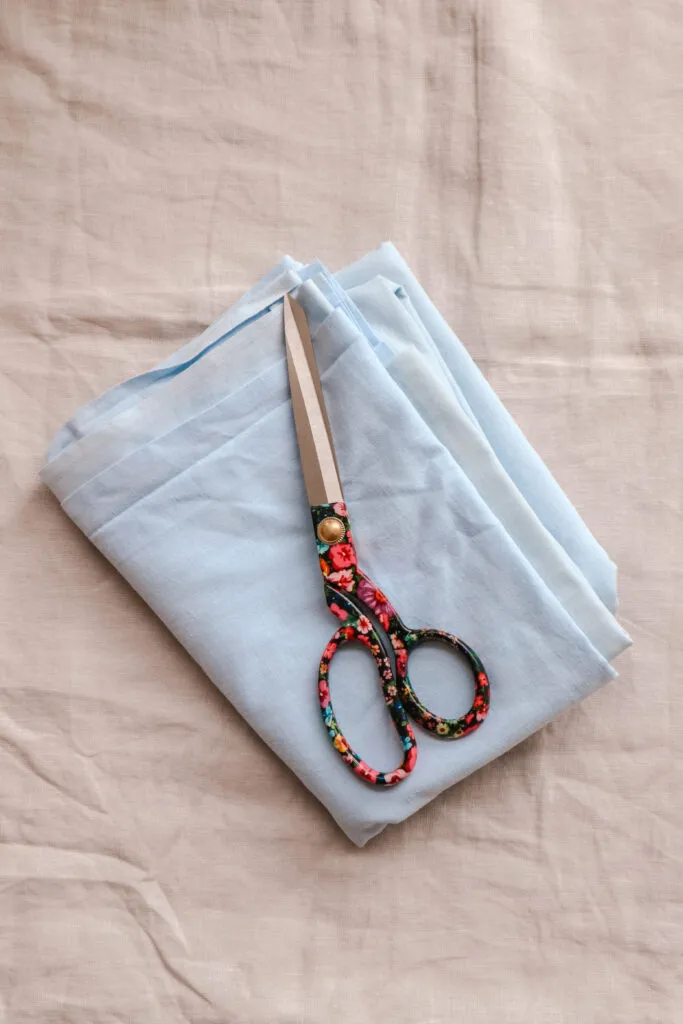
For this tutorial, you will want to use either cotton or linen. Both linen and cotton are woven fabrics which is essential to making the fringe.
When purchasing your fabric you should know exactly how many napkins you are making. Each napkin will be 45x45cm.
You can purchase your fabric from a craft store, or you could upcycle it like I choose to by using a top sheet I purchased for just 50 cents!
Step 2: Cut To Size
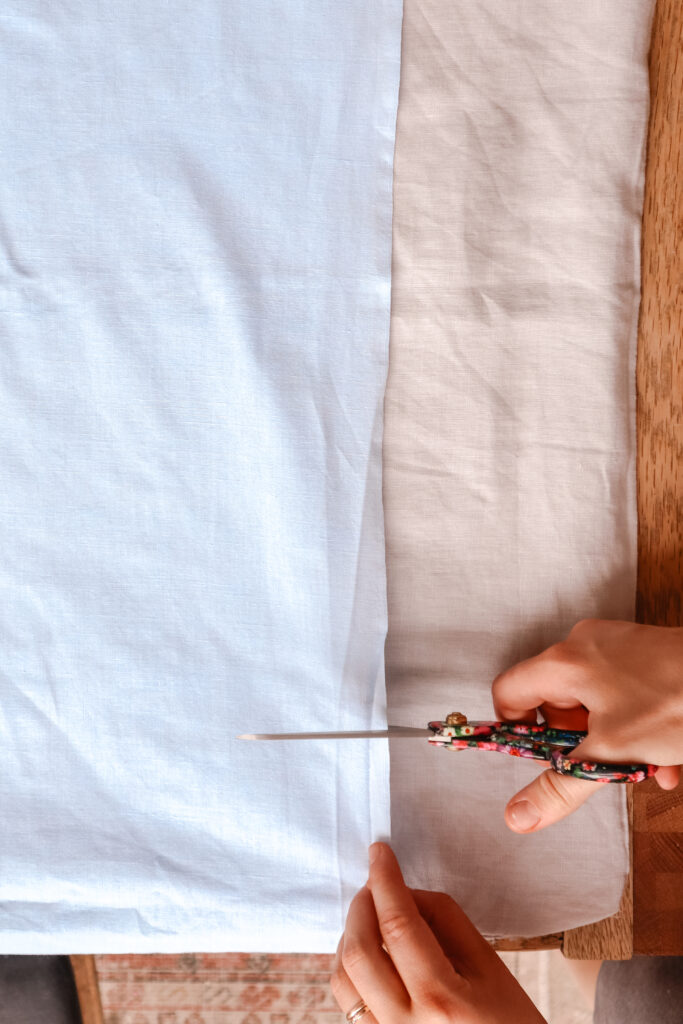
Using chalk measure and mark out 45x45cm squares.
Make sure to line up your squares so the edges are running with the length and cross grain. The easiest way to do this is by beginning your square hard up against the selvage edge of your fabric.
This is an essential step to enable you to easily pull away the threads and create the fringe.
Step 3: Pull Away Threads
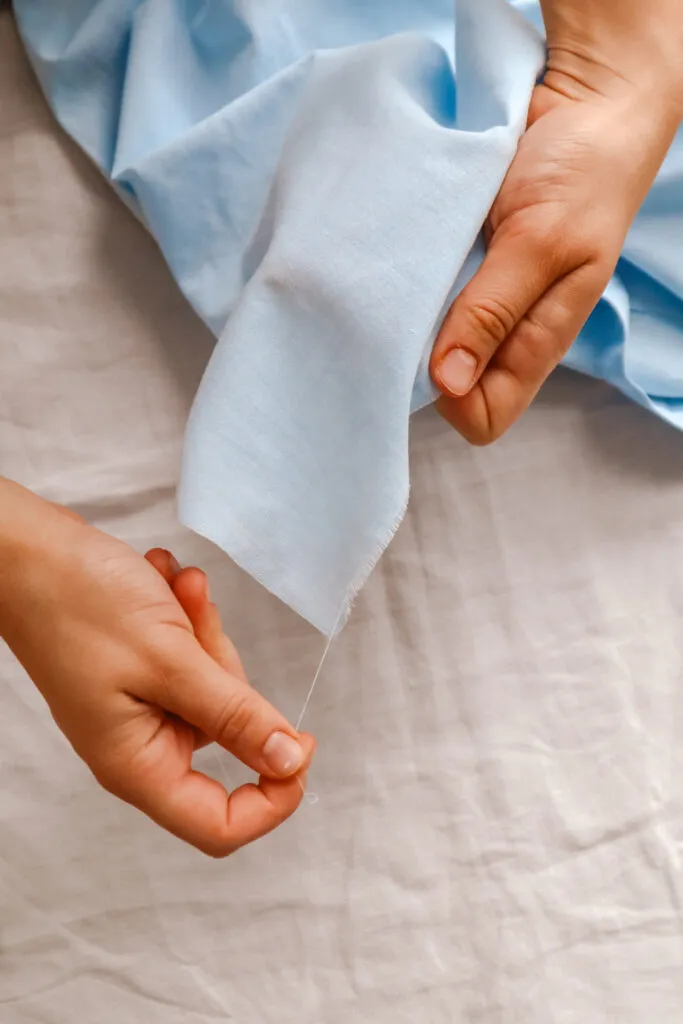
Once your squares are cut you will notice the raw edge is easily frayed.
Begin on one edge pulling away the threads that go lengthways to that edge. Continue to pull away until your fringe reaches about 2cm or your desired length.
Step 4: Repeat & Trim
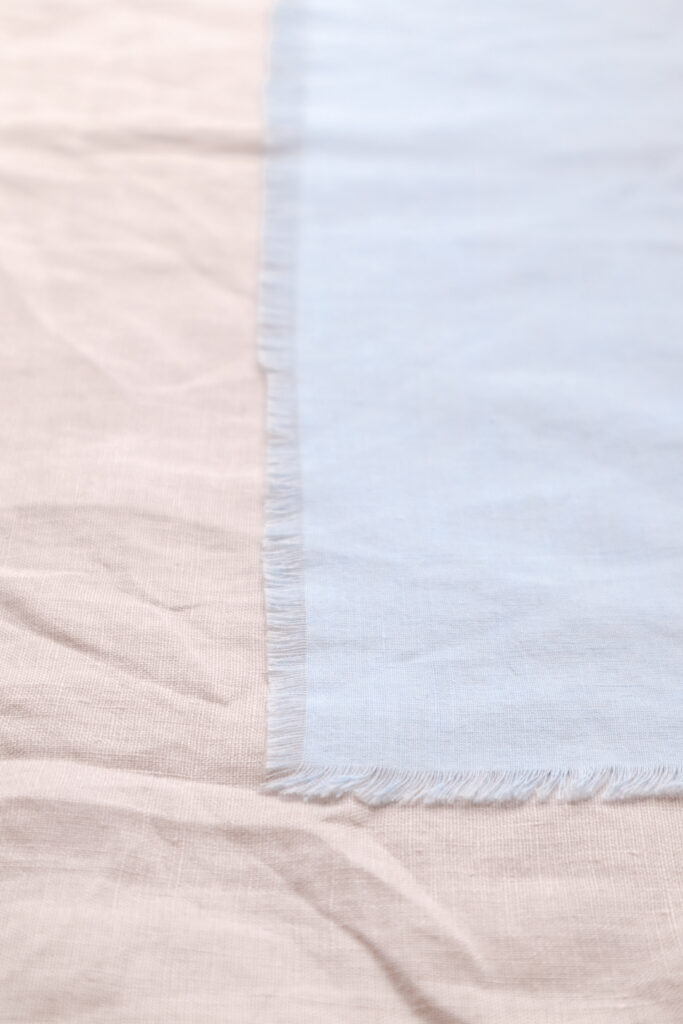
Repeat Step 3 for each of the edges.
If your fabric was not cut exactly straight you may have areas of the fringe higher or lower.
Using scissors trim the edges until they are all the same length as each other.
Step 5: Finishing Your Napkins
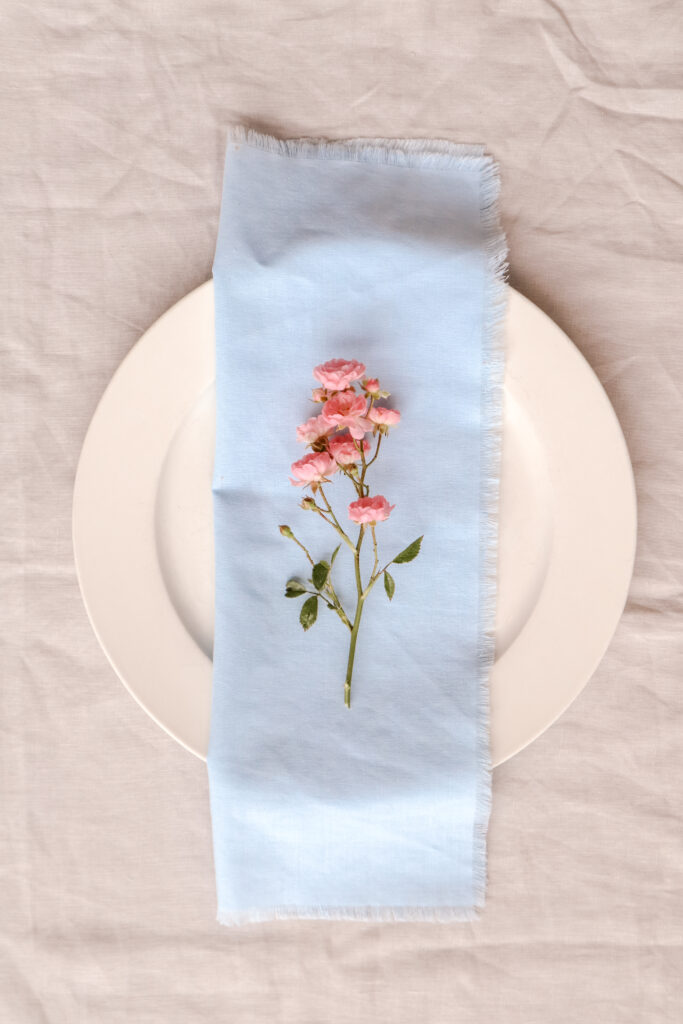
Lastly, I always like to Iron my Napkins for a clean and uniform look.
You are then free to style them however best fits your event’s plating aesthetic.
Once used, these napkins can be washed and kept for reuse at future events.
Related Posts:
If you’d like to read about the event in which these napkins were used, check out my post Ultimate Guide to Hosting a Youth Banquet.
