Learn how to make a fabric welcome sign from start to finish with this simple tutorial! Making a DIY cloth banner can be easy, fun and is sure to make your party look extra fabulous! I’ll be sharing how to make a banner using Cricut as well as sewing and finishing your sign.
Fabric welcome signs or banners are becoming increasingly popular for use at weddings, baby showers, birthday parties, and virtually any other event. They are an elegant way to welcome your guests and a great photo opportunity!
They are also so easy to make with a few tools and supplies!
In this post, I will share how to make a fabric welcome sign with the lettering printed by a Cricut. However, this banner can easily be made without the use of a Cricut, with a bit of patience and hand lettering.
This post is all about how to make a fabric welcome sign for your next event, big or small.
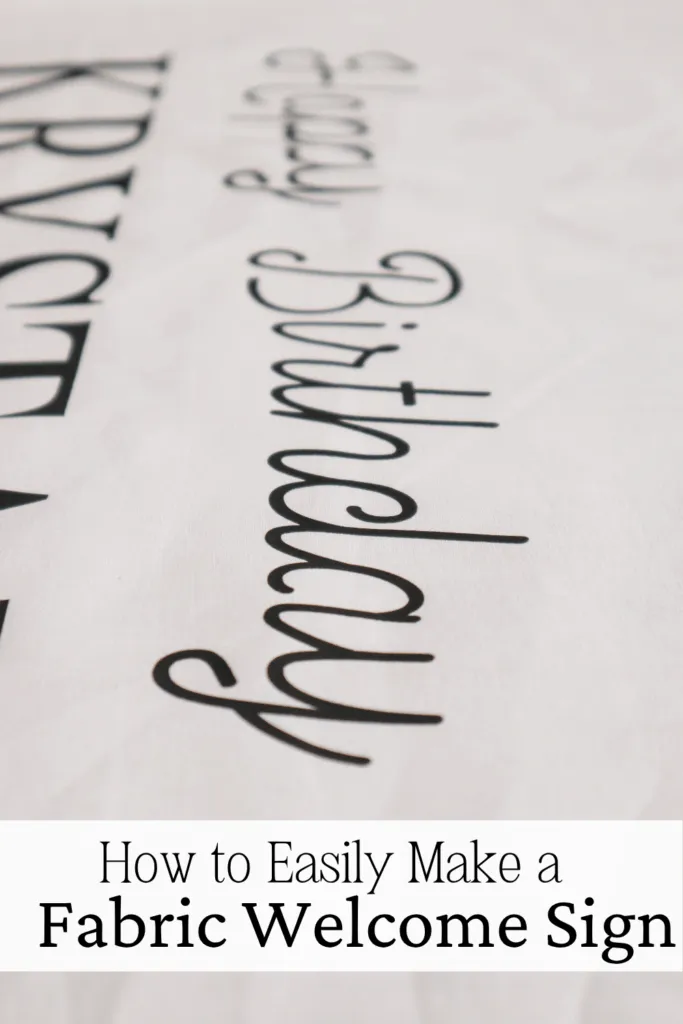
How to Easily Make a Fabric Welcome Sign
In this tutorial, I will be using a Cricut to print my words. I realize these are not available to everyone, so if you don’t own a Cricut, don’t despair!
The same steps can be used for making the banner itself. When it comes to lettering, it may just require carefully penciling your words and then using fabric paint to go over them.
If you’d like to know how to make the banner stand as seen in the finished photos, be sure to check out my post How to Make a Sign Stand for the full tutorial.
The dimensions of the sign I made were specifically to fit in my sign stand (which is 180cm high x 90cm wide). If you would like your banner larger or smaller, simply adjust the measurements to your needs.
What you’ll Need:
- White or Cream Calico Fabric (I used 180cm x 85cm)
- Double-sided Fabric Tape
- White Thread
- Cricut Iron-on Vinyl
- Sciccors
- Cricut Machine and Accessories
- Cricut Easy-Press
- Sewing Machine
- Iron and Ironing Board
Creating Your Banner
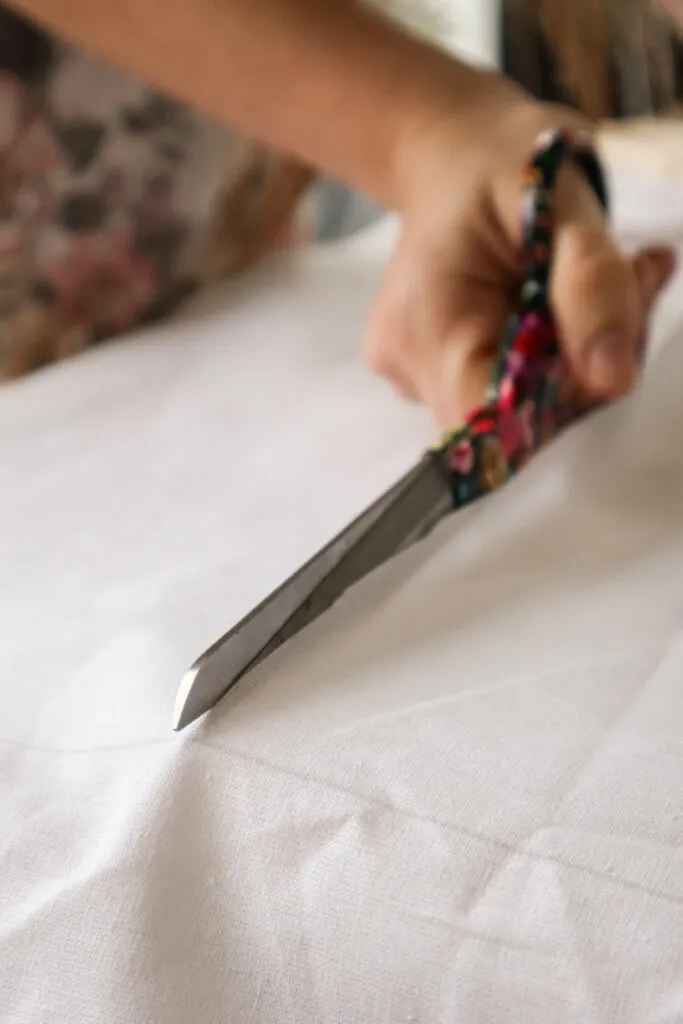
Step 1: Cut Your Fabric to Size
For my banner, I wanted the finished product to be 165cm tall x 80cm wide.
Determine your finished dimensions, and then add 12.5cm to the length and 5cm to the width. The extra length and width will account for finishing your edges and the fold at the top through which your pole will go.
With your fabric measured and marked to size, cut it out.
Step 2: Iron your Edges
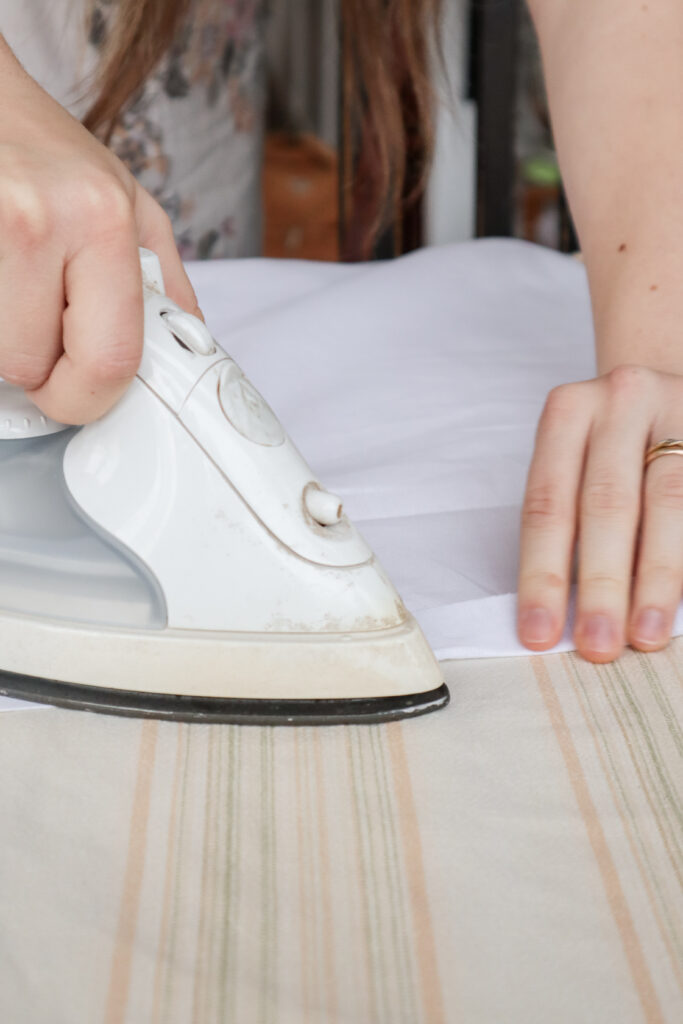
Beginning with your long sides, iron over a 2.5cm fold. Repeat this on the other side and then the bottom and top of your rectangle.
Step 3: Iron Edges Shut with Fabric Tape
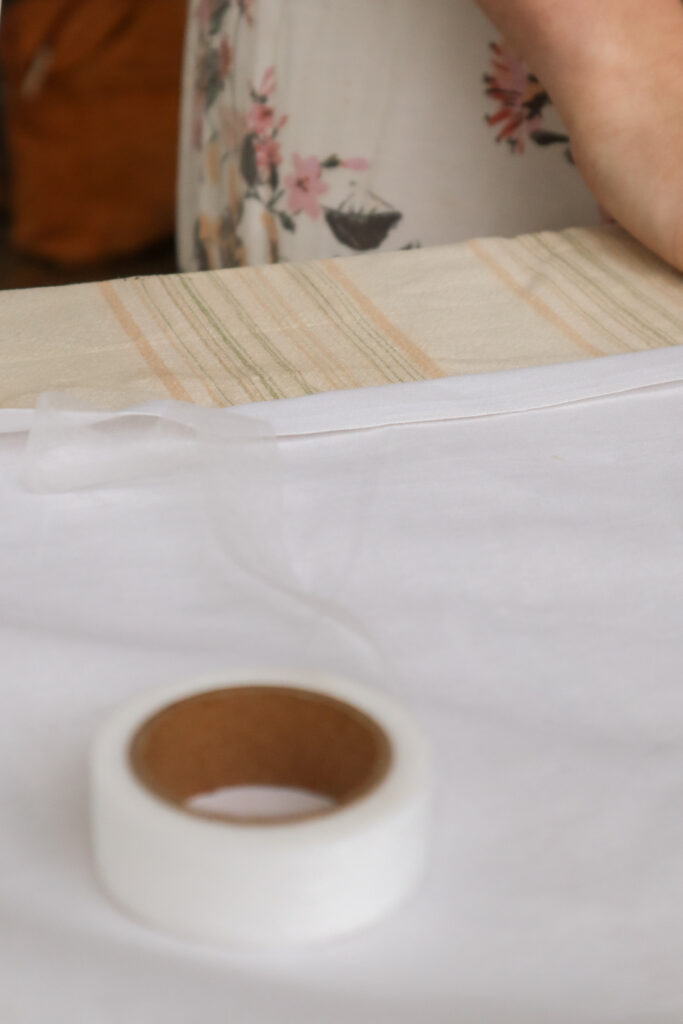
Beginning again with one side, take your fabric tape, and sandwich it between the fold you just created. Slowly iron down and continue this up the side of your banner until the top.
Repeat this for the other side and then the bottom.
Step 4: Create Top Opening
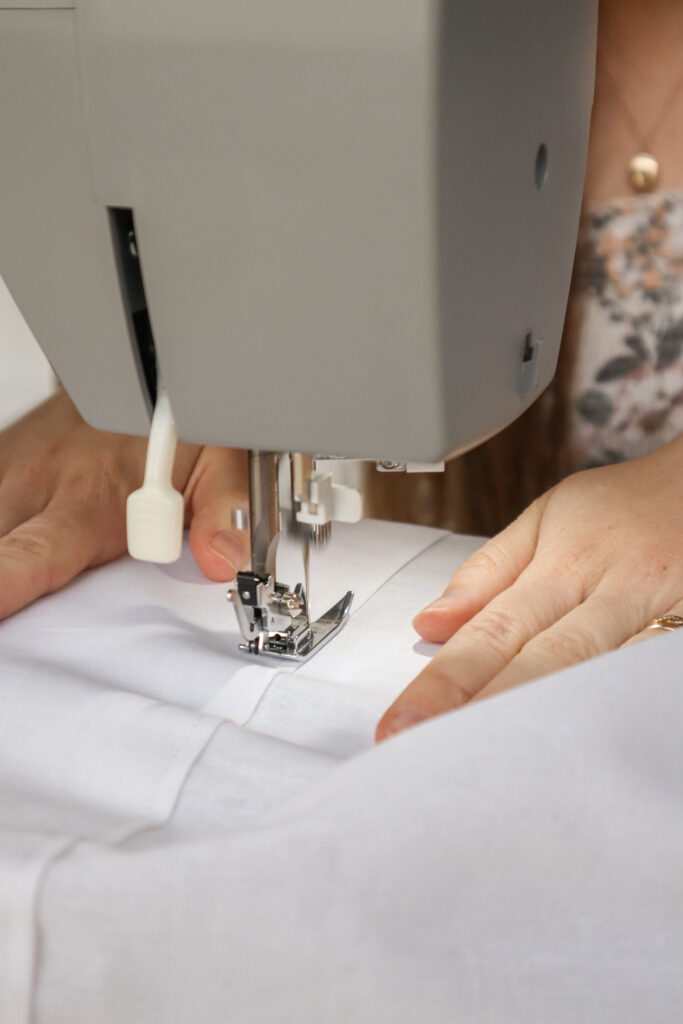
We now want to create the opening for your wooden dowel to sit in.
At the top of your banner, fold your fabric over 2.5cm and iron flat. Now fold your fabric over to create a 15cm fold. Pin your fabric to itself and sew with a 1.5cm seam allowance along the edge of the fold.
Designing Your Sign
Step 1: Plan Wording and Layout
You may already have a vision in your head of how you want your sign to look. If not, then just pop onto Pinterest for all the inspiration you could need!
Once you know what you want your banner to say and how you plan to arrange your words, you’ll want to take note of measurements. Keep in mind how wide the banner is when choosing the size of your font.
Tip: Giving yourself wide enough margins makes for a minimalistic and clean finish.
Step 2: Design and Print
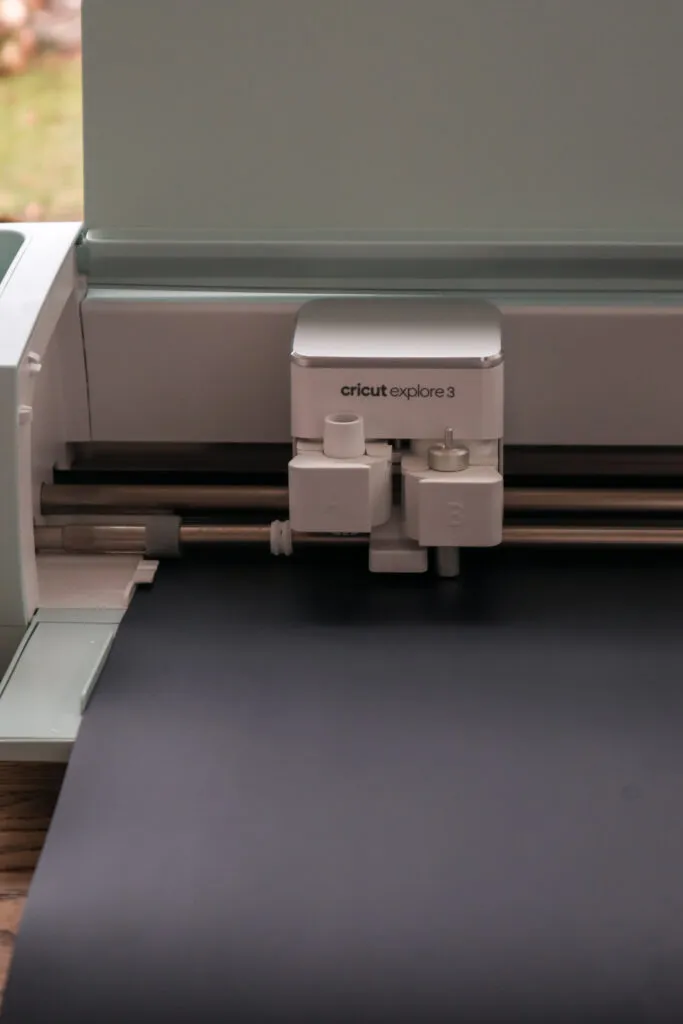
Once you know what to say and how big you want your font, you’ll want to design your wording in the Cricut app. When you’re happy with everything, go ahead and have the Cricut cut your design.
If you’re choosing to paint your words, then I’d recommend still choosing a font on an app like Canva, then printing your design on paper. You could use this purely for reference, or if your fabric is transparent enough, trace over the fonts.
Step 4: Applying Your Design

Now for the fun part!
Once your machine has completed cutting your design, you’ll want to weed out everything you don’t need. Then choose the right setting and get your Easy-Press heating.
Be sure to make sure everything is measured, straight, and exactly where you want it before you begin applying your Design.
You will need a piece of baking paper to go between your design and the press. Take your easy press and hold it over each section for at least 15-20 seconds. While the design is still slightly warm, you can slowly begin removing the backing.
If you’re painting on your letters, be sure to keep your workspace as clean as possible. You don’t want any accidents on your banner.
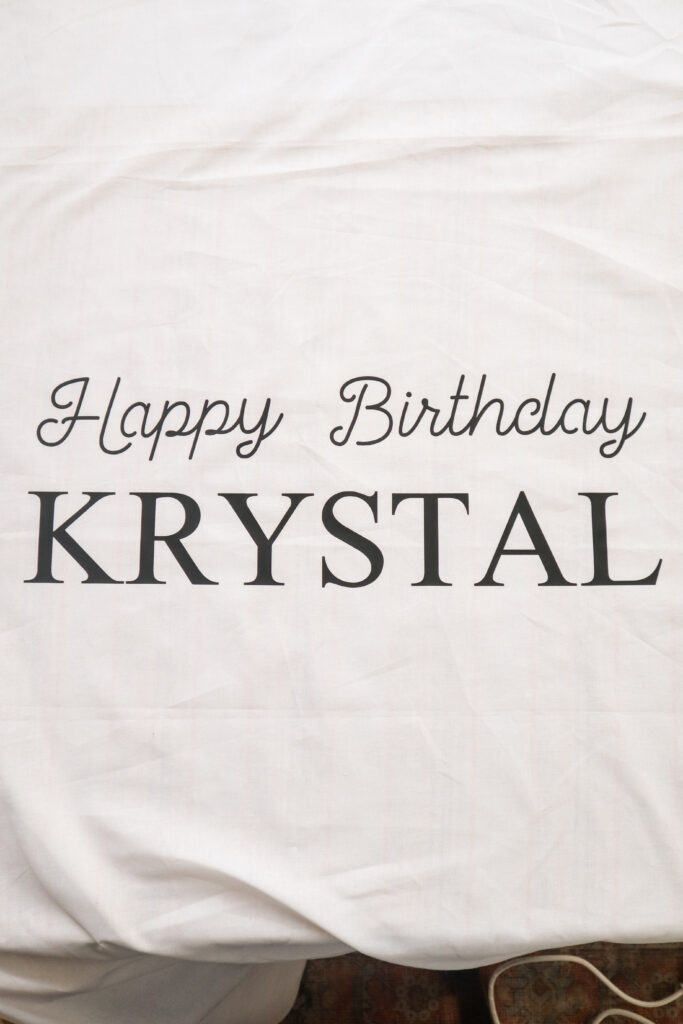
And with your design applied, your fabric welcome sign is complete! Your guests are sure to love standing with this sign at your upcoming party.