If you’re looking for a flower arrangement or centerpiece to make your fairy garden party an enchanted wonderland, this flower arch is exactly what you need! In this post you will learn step-by-step how to make a beautiful arch worthy of a fairy kingdom.
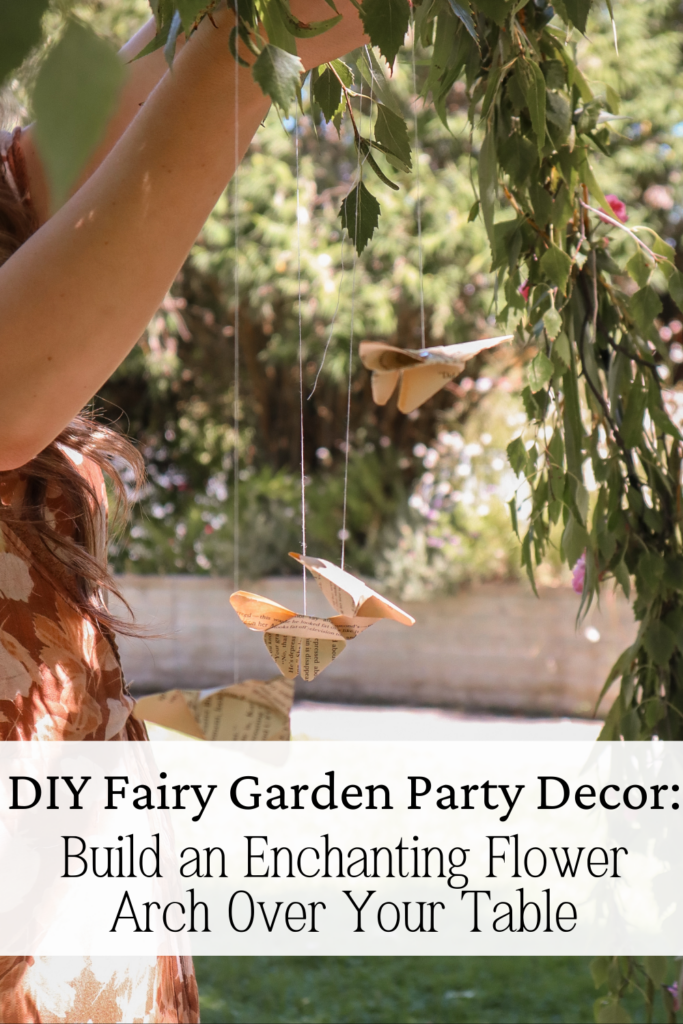
Whenever I begin organising a party, I look for something I can create to bring a touch of magic! With this fairy garden party arch, you can create a truly whimsical atmosphere! The dancing butterflies and flowers overhead are sure to transport your guests to wonderland.
In this guide you will learn how to assemble a beautiful floral arch, using what you most likely already have on hand. (When I made this arch it cost me absolutely nothing!)
By the end of the post, you’ll be equipped and ready to go make your own enchanted garden party magic!
This post is all about how to make a fairy garden party arch for your next whimsical event.
DIY Fairy Garden Party Arch: Step-by-Step Guide
What You’ll Need to Make Your DIY Floral Arch:

- Two Flexible Tent Poles (preferably with hollow ends)
- Four 2-4 Inch Nails
- Scissors
- String
- Roughly 1 Large Sack of Foliage (I used willow mostly and other hanging leaves)
- Small Cluster Flowers
- Cotton & Vintage Paper for butterflies – Optional
Step 1: Assemble Your Tent Poles
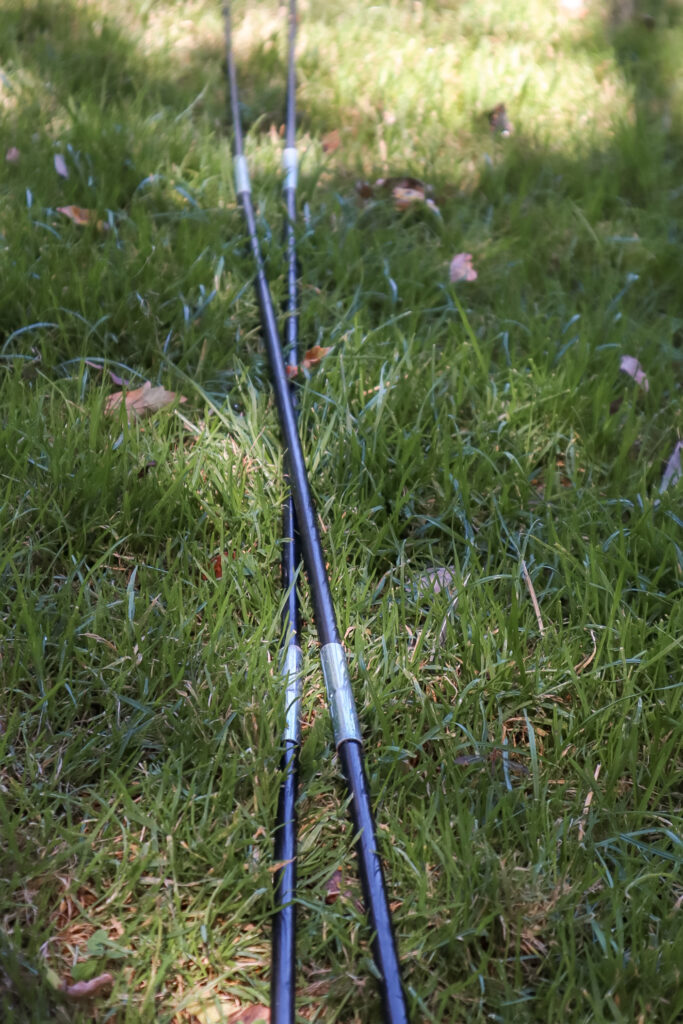
Begin by assembling your tent poles. For this I used 2 poles from a four-man tent we already owned. These created the perfect sized arch!
I do recommend ensuring these poles are hollow at the end, otherwise you won’t be able to follow step 4. If you do not have hollow poles, you can still follow these steps but will need to re-think how you want to secure them to the ground.
Lay your poles out flat on the ground.
Step 2: Attaching The Foliage

Organise your foliage out alongside your poles. This is to insure you have an even thickness across your arch. If you’re using a mix of different foliage, try to mix and match the different varieties as you lay them out.
Starting at one end, tie a few branches to your pole.
Step 3: Add and Weave in New Branches.
About halfway up, add a few more branches and secure them together.
Continue to do this to the end of the pole, weaving in any extra-long pieces as you go. If there is any visible string, you should be able to fluff out the leaves to hide it and add a natural look.
Repeat this for both poles.
Step 4: Creating The Arch
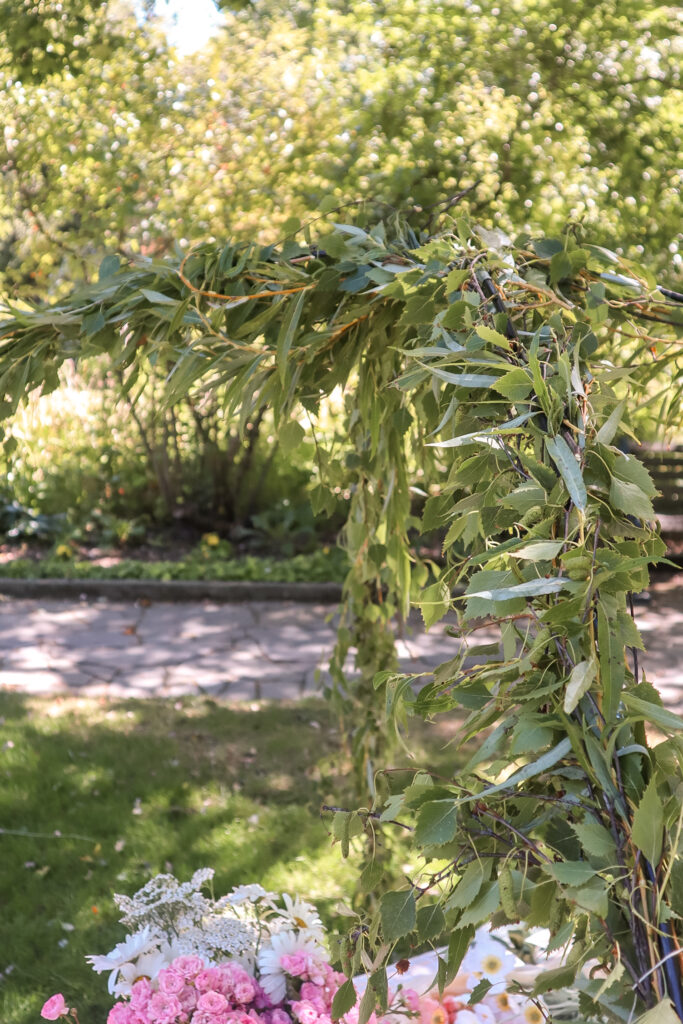
Now to stand up your poles. Take your first long nail and place it into the ground where you want your first corner to be. Leave the nail sticking out about 1-2 Inches from the ground.
Once you’ve done this, place your second nail about a meter and half away on the opposite side of the first.
Repeat this step for the second pole. This setup forms a sturdy square base for the arch. Tie both poles together where they meet in the middle for extra security.
Step 5: Adding The Finishing Touches to Your Fairy Garden Party Arch
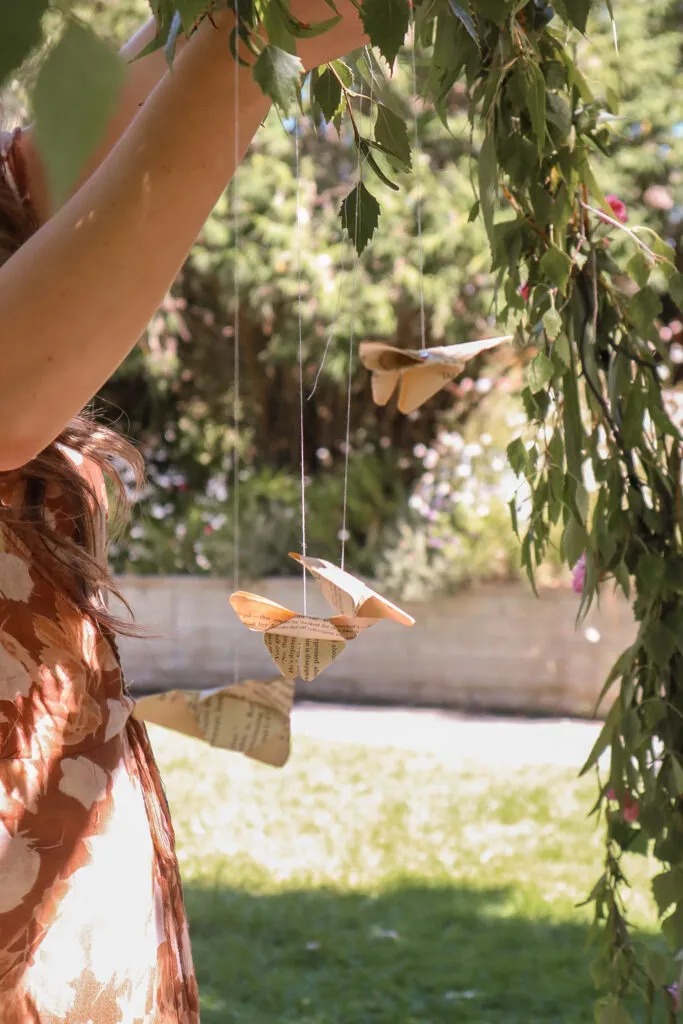
Now using your flowers and any leftover leaves, weave them in-between the branches of your arch, being sure to cover any bare pole.
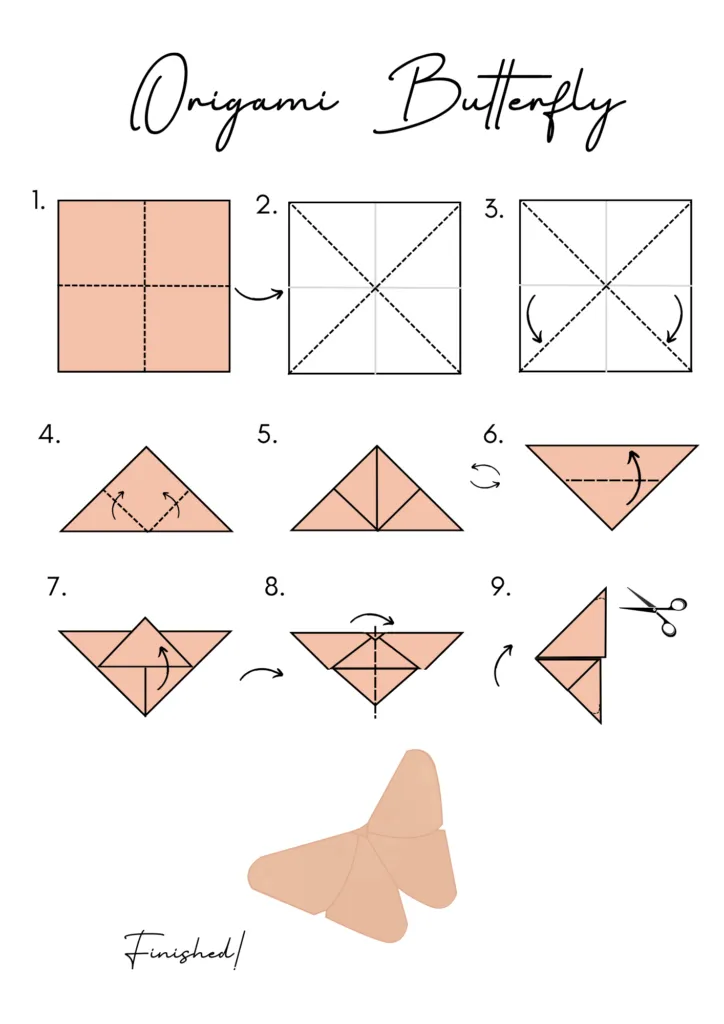
Lastly, I added Origami butterflies attached at different areas to the top of the arch. I made these using a paper from an old unwanted book and then attaching them to cotton thread.
I absolutely love the whimsical element these added! It was truly magical how they flew in the wind. These would be perfect for a book themed event, secret garden party, or fairy garden of course!
See below a diagram of how you can make these easy and beautiful butterflies.
And you’re done! All the best as you now go and create your own fairy garden party wonderland.
For more enchanting garden party Ideas, check out the post Step Into a Storybook: How to Throw a Stunning Garden Party Birthday and see my full styling guide!
