This step-by-step guide is written to help you design and create your own birthday invitations, unique to you and your party! Follow along as we customize everything from headings to the paper on which your invites are printed.
No two birthdays are alike. Each celebrates a unique person with unique interests.
An invitation is a first glimpse into the future event and should reflect the unique fun to come. There are many invitations out there, but perhaps not the perfect one for you.
For this reason, I will be sharing my easy step-by-step guide to help you create your own birthday invitations.
I will be using Canva for this tutorial, however the principles to make your own invitations remain the same regardless. We will delve into invitation details, design, editing tips within Canva and even how to print your invitations.
By following these steps you can create a beautiful and professional custom invitation that’s a one-of-a-kind!
Heads Up: This post contains affiliate links which means if you click and purchase I will receive a commission at no extra cost to you. For more information check out our full Disclaimer Page.
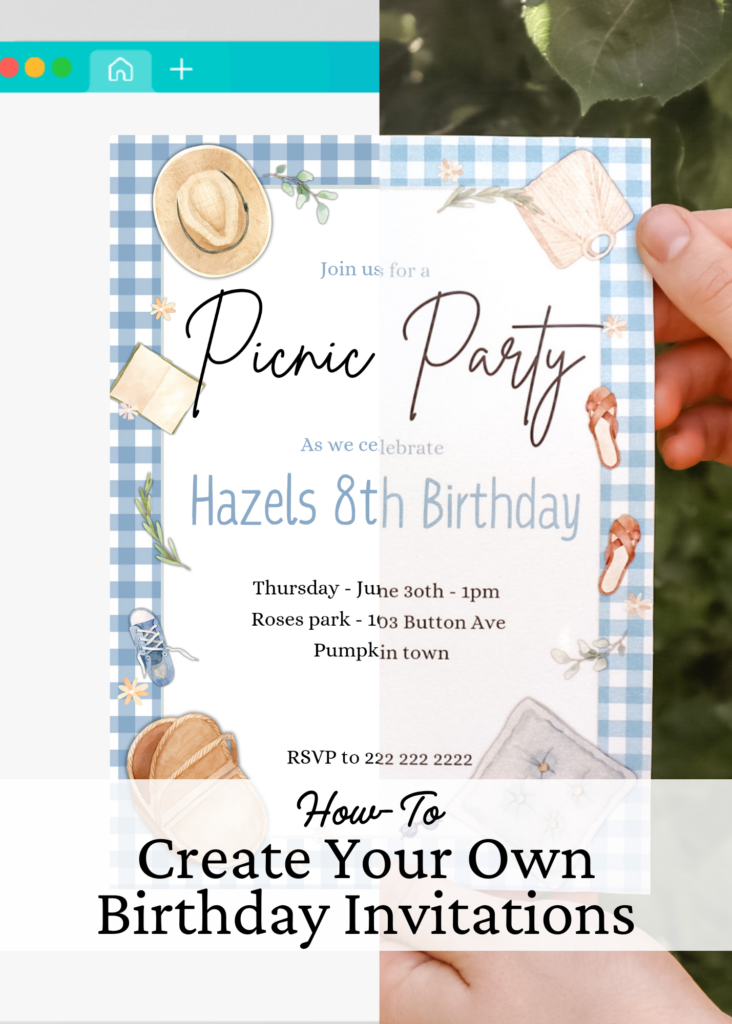
How to Create Your Own Birthday Invitations
Step 1: Know Your Theme and Color Scheme
If you are involved in throwing a party it’s crucial to know the what, who, when, where and how. These details are the purpose of your invitation to give your guests all the information they need.
- What – What is the event your guests are invited to?
- Who – Who is this event for and who is invited?
- When – What is the date and time of the event?
- Where – What is the address?
- How – How do your guests confirm they are coming?
Before we design our invitation, we need to be sure of our what. What is the theme? What is the color scheme?
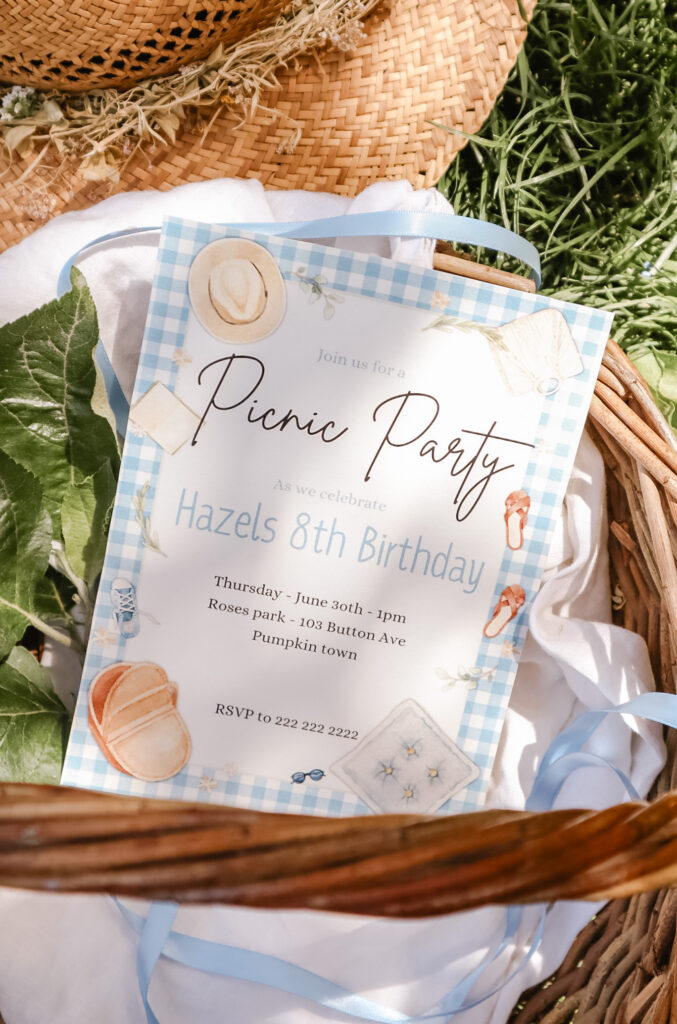
Knowing the answers to these questions gives your design process a clear starting point. As I illustrate these steps I will be using the example of creating a picnic birthday invitation. My theme is obviously picnic and the color scheme is light and summery blue.
Step 2: Choosing a Background/Border

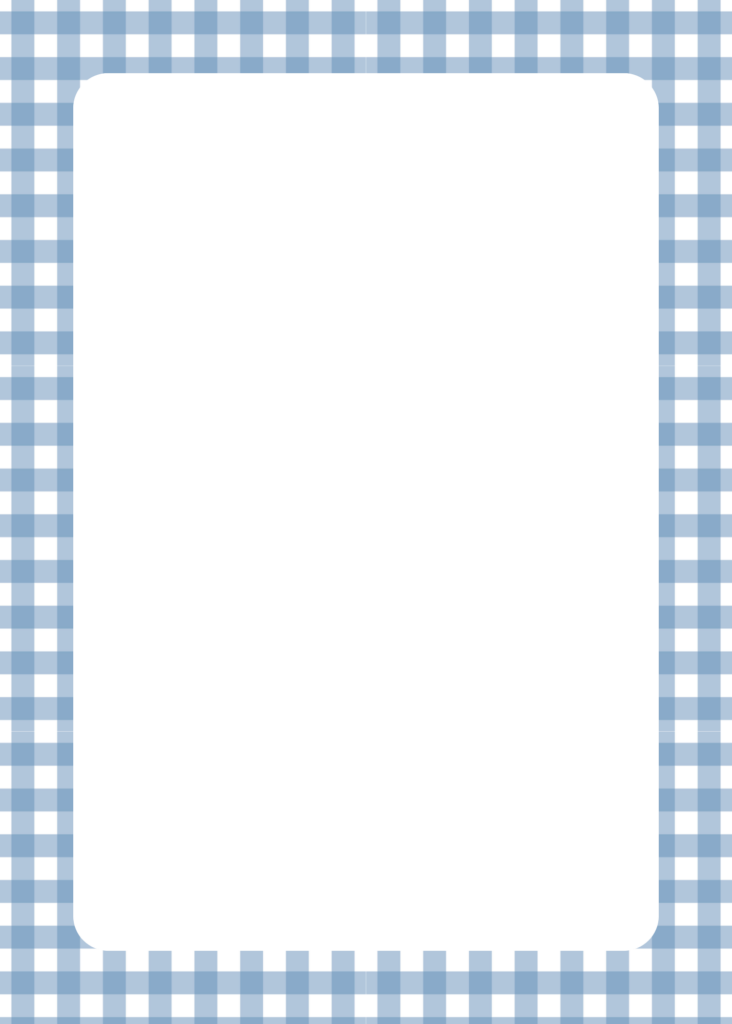
Though optional, I usually like to have some kind of background or border to my invitations. This helps to ground your design.
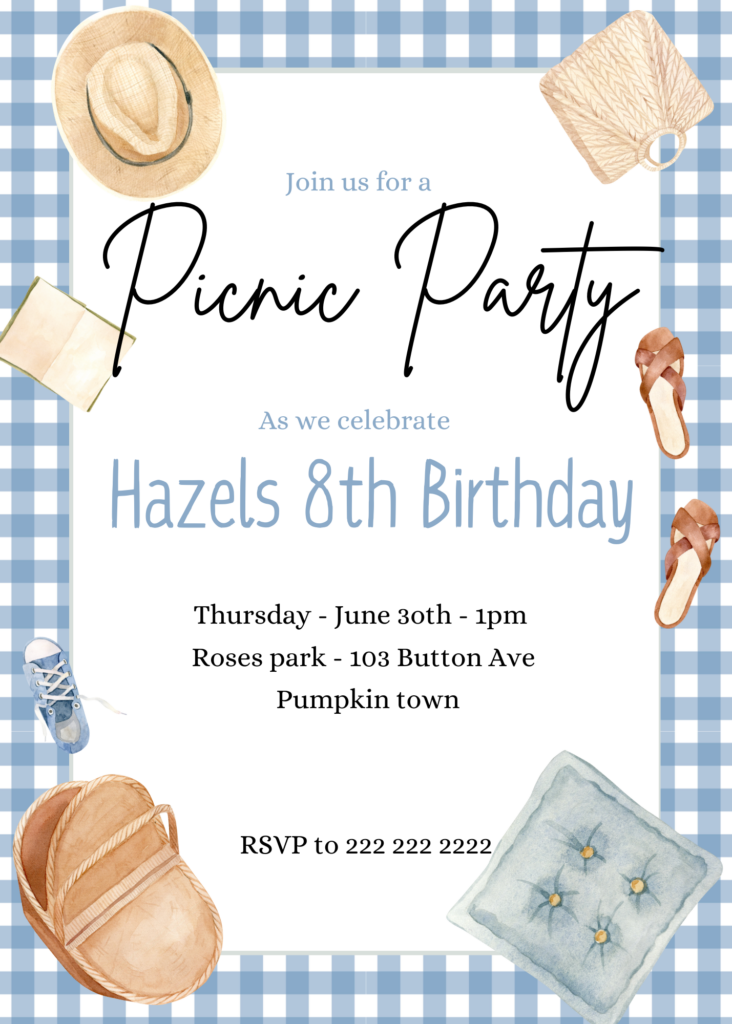
Because my theme is ‘picnic’, I chose to make the invite appear as if it was set on a picnic blanket. If you choose a bright or bold background it is best to add another lighter blank layer for your information.
Background Editing Tips!
You can change the colour of your page background on Canva by selecting the blank page and clicking the colour wheel in the top left corner. If you choose to add an element as your background, then it can help to lock it down. Do this by selecting the element and clicking the lock symbol in the small pop-up column.
To add a blank box as seen in the second image, add a square shape. Change the shape, colour, and curve of the corners for a softer look.
Step 3: Add Main Heading
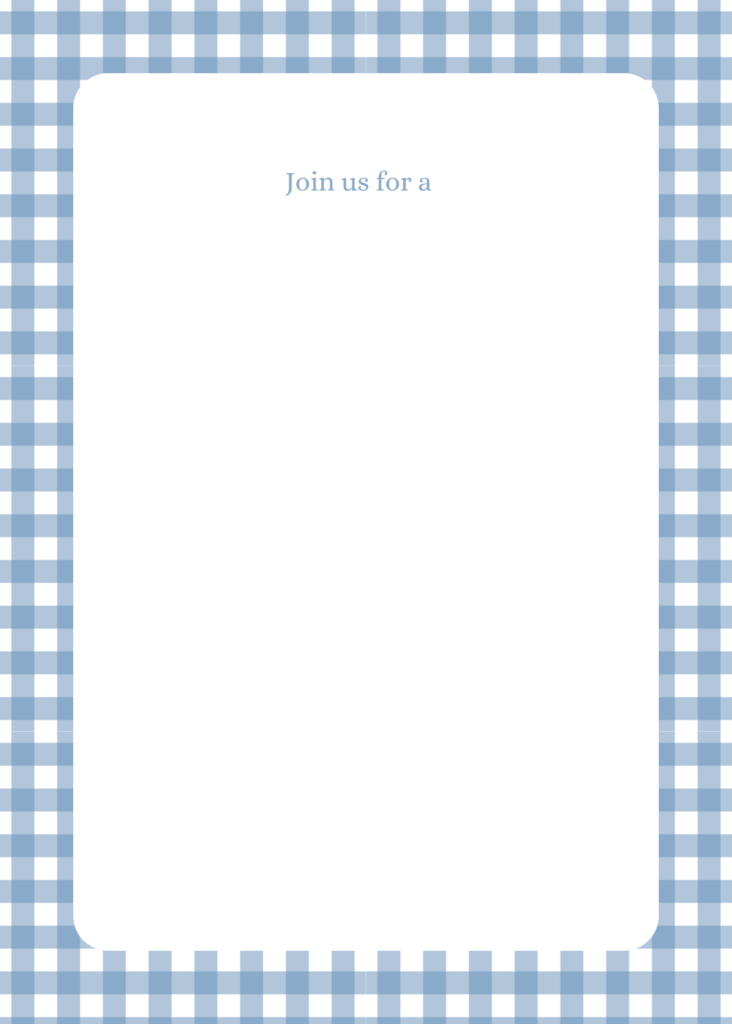

Begin by adding your sentence opening. Ideas for this would be:
- Join Us For A
- You’re Invited To
- Join Us in Celebrating
- Please Join Us For A
- (Name) Invites You To Their
Or you could leave the opening sentence out for now and jump straight to your heading. Whatever makes the most sense.
Now add your heading. This will be the largest font and should reflect the style of your event. For example, if it’s a fun kid’s birthday, you could use a bold bubble letter font. For a formal dinner however, cursive may be appropriate.
Just make sure your choice is clear and easy to understand.
Font Editing Tips!
It’s a great idea to make your heading a color fitting with your theme. Do this by selecting your heading and clicking the color circle in the top left-hand color. If you know the # code of your color you can enter it here.
To change the font select your heading and then click the name of the font in the top left-hand corner. From here you can easily try different fonts.
Step 4: Add a Sub-Heading
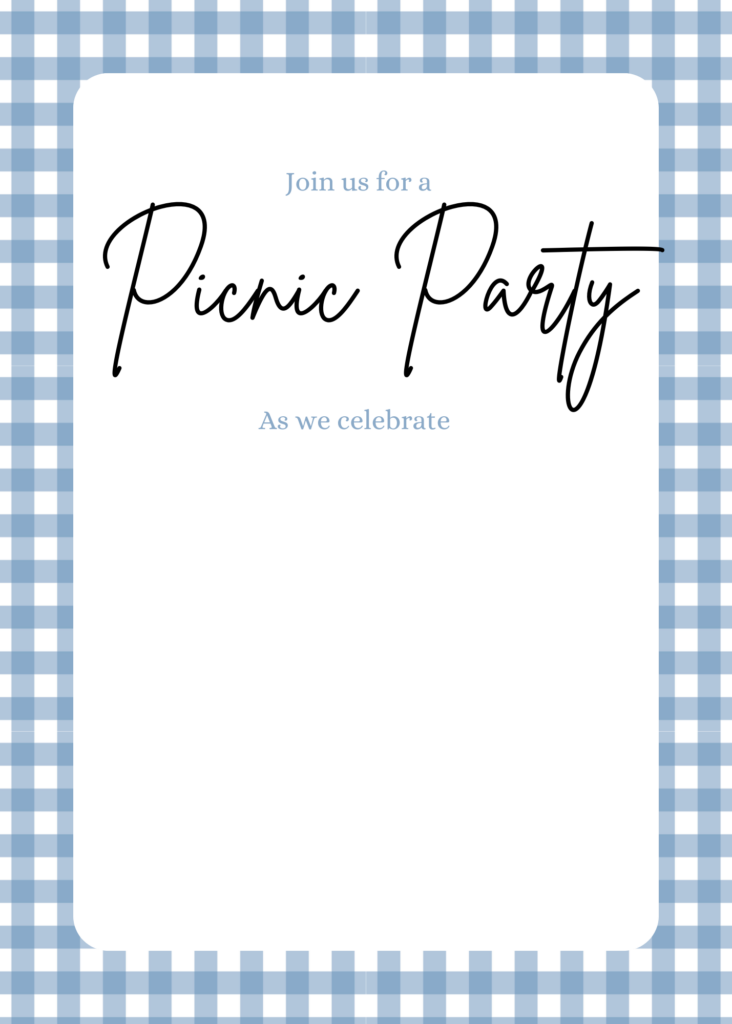
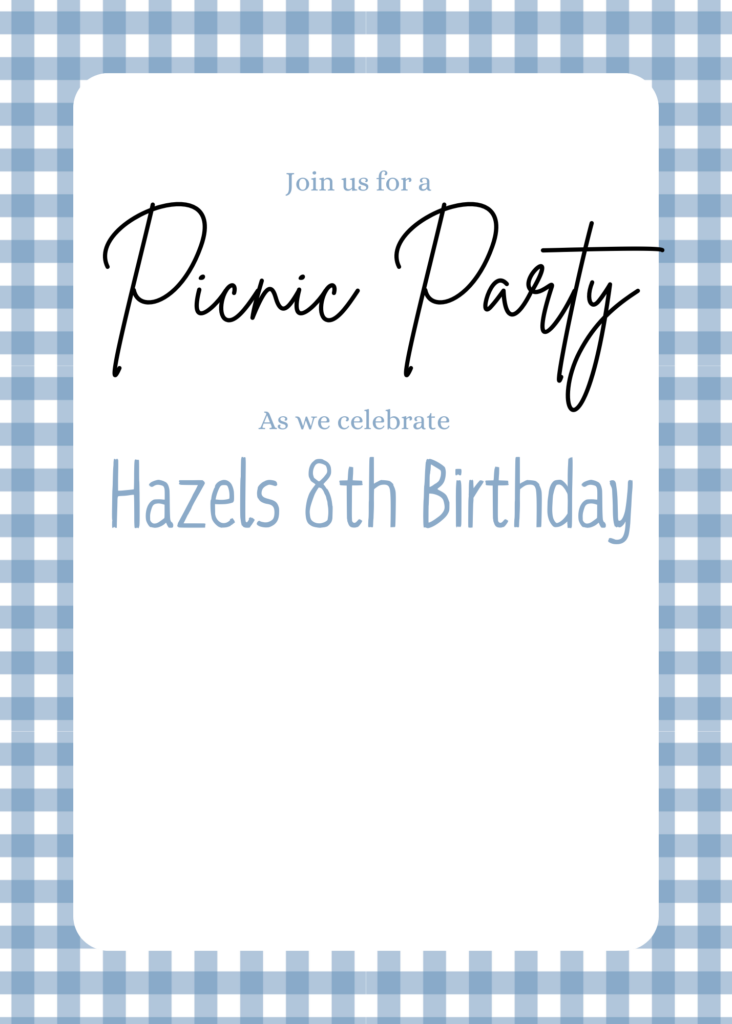
Time to elaborate on the ‘What’ and ‘Who’ of the event.
With your main heading as the title, your subheading should clearly state what it is that is being celebrated.
The style of the font should be easy to read and not compete with the main heading style.
Step 5: Day, Date and Time
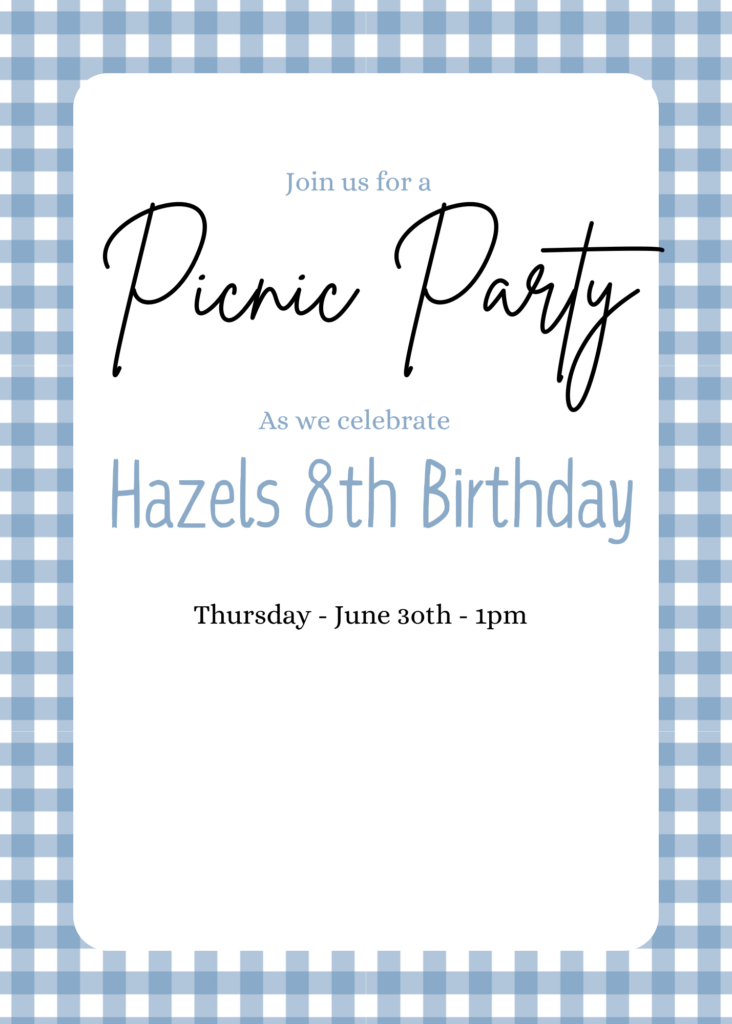
Now time to add you’re your date, month and time. There are several different design options when doing this.
You could do it simply, as seen above, or you could make it more of a design element. To do this consider making the date number large and in a key font. On either side you could add the month and time.
Step 6: Where Is The Party
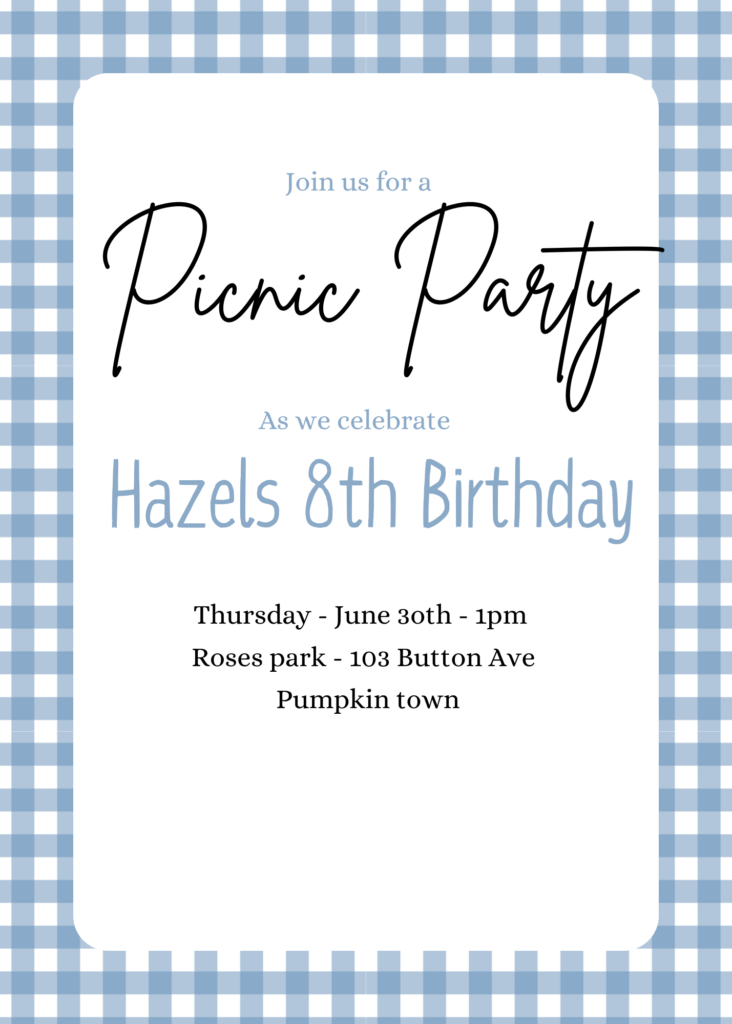
Next, we will add the address. Again, make sure this is in a very clear font.
If the party is at a house known to your guests, you could begin with something like “(name’s) house” and then the real address.
Step 7: The RSVP
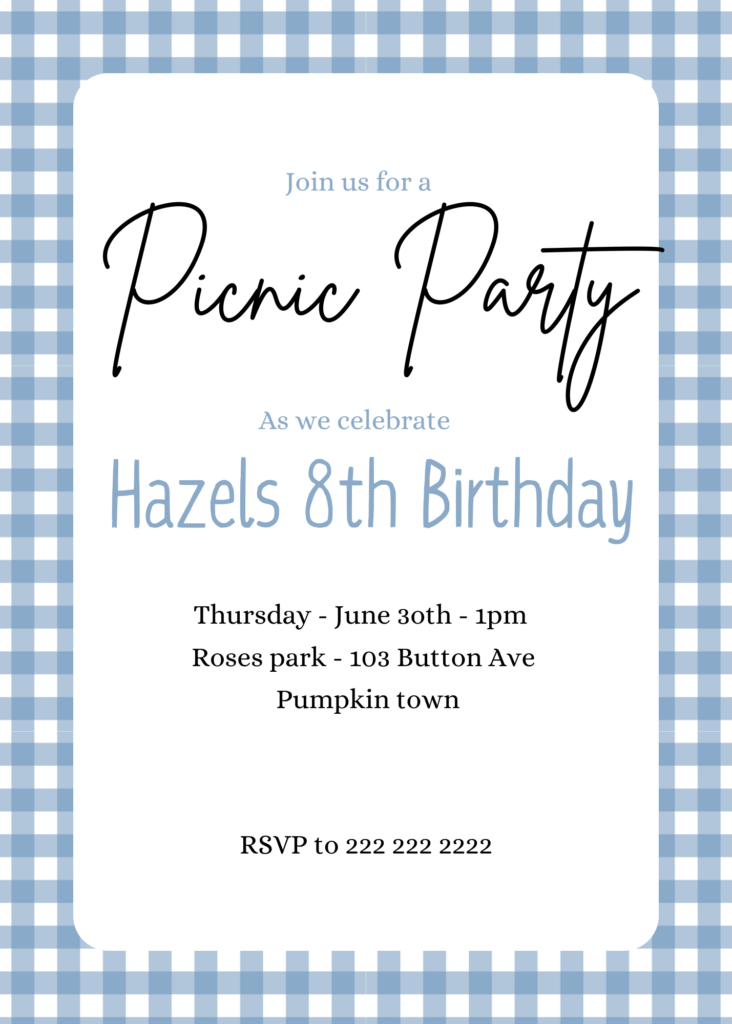
The last crucial detail is to include how you want your guests to RSVP. Usually, this is a phone number. You can also include the name of who they are to RSVP to.
Step 8: Adding Elements
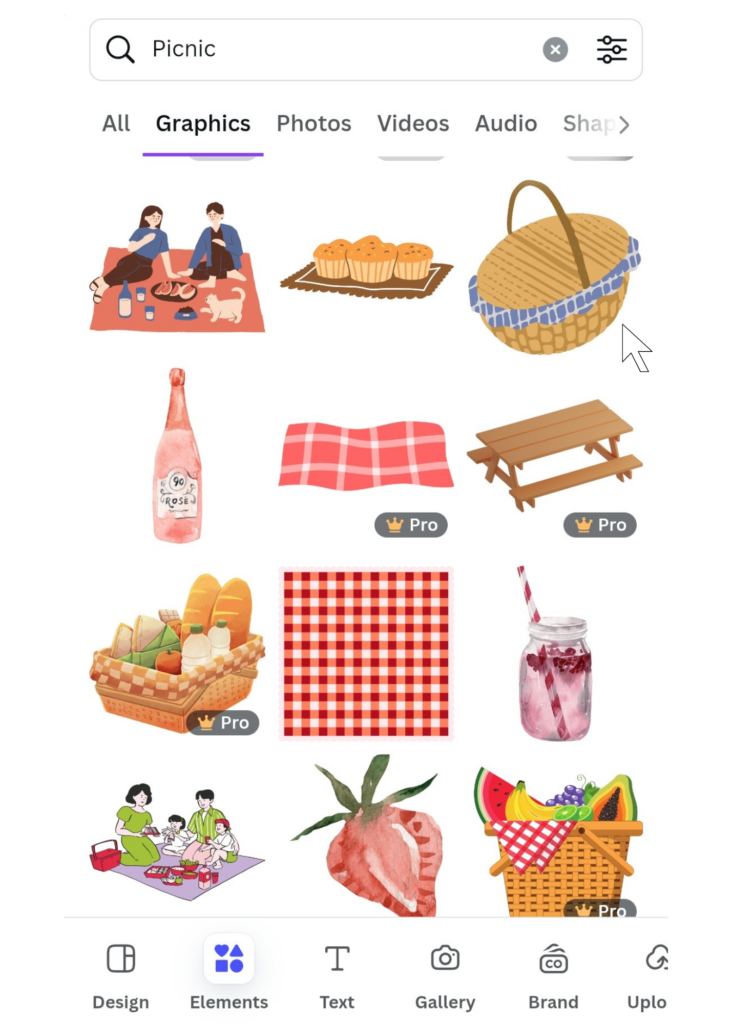
Now for the fun part! Adding elements!
Canva, including the free version, has fantastic element options! Simply type in what your looking for into their elements search bar and start choosing.
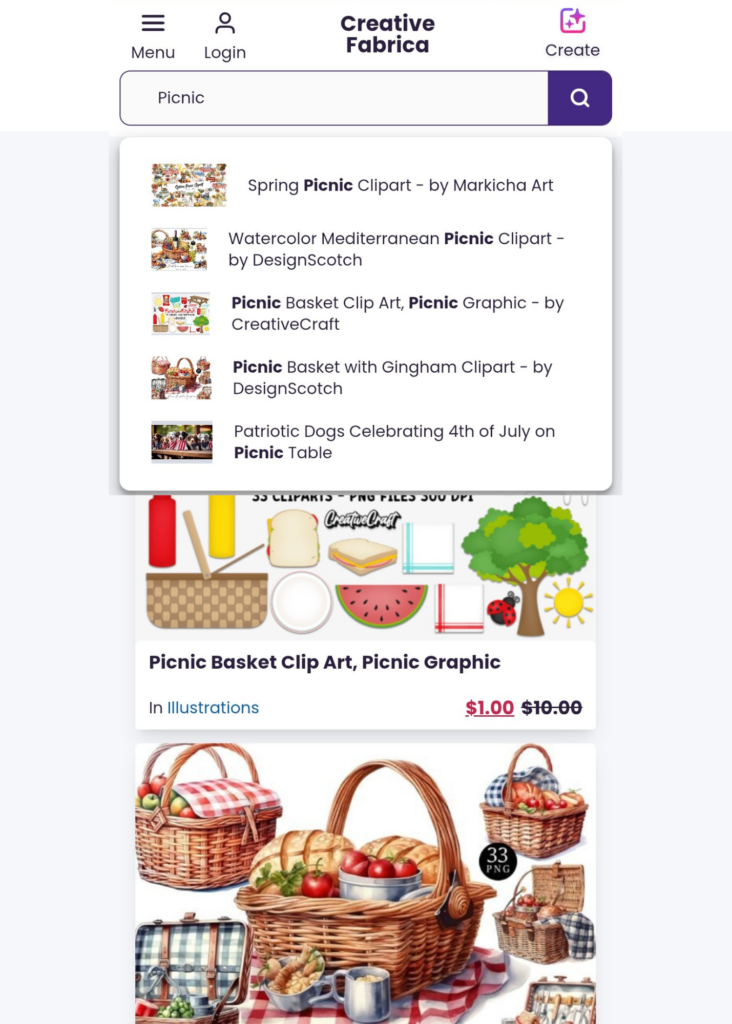
As I was setting this invitation, the elements I used were from another platform called Creative Fabric. This website is great for giving you downloadable elements royalty-free for a fair monthly subscription fee.
I chose to download a file of watercolor picnic elements from this website.
Begin by adding the larger elements. You can use as few or many as works with your design.
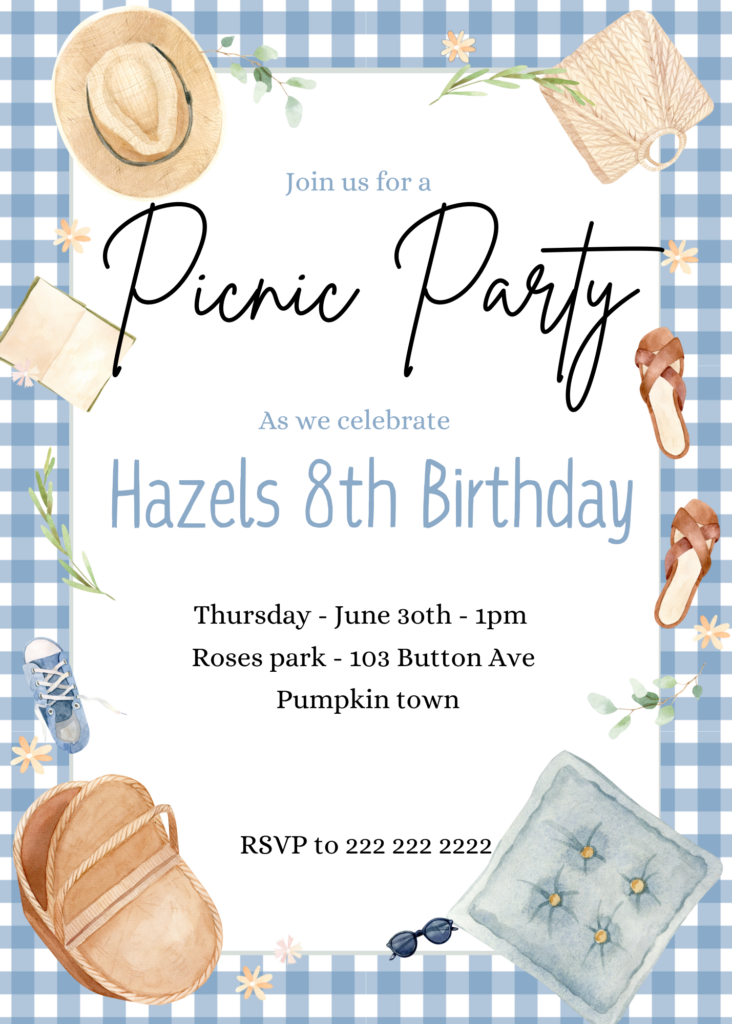
Depending on how busy your elements are, I would then add the smaller details.
Elements Editing Tips!
An extra detail that can make your design pop is adding shadows to your elements.
You can do this by selecting your element, clicking the EDIT button on the top left and under the “fx effects” selecting shadow. You can then customize the type of drop your shadow has.

Step 9: Save and Download
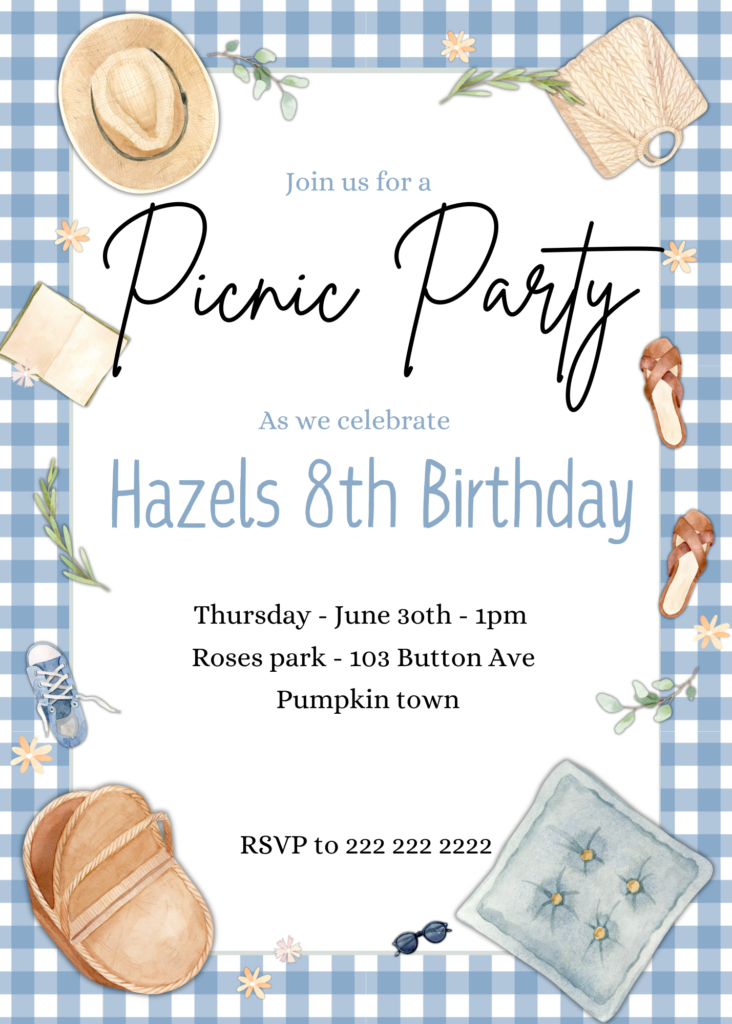
Well done! Your custom birthday party invitation is complete! Now to choose how you want to share it with your guests.
You can either share as an E-invite or a physical paper invitation.
If you choose an E-invite, download your invitation as a PNG and share how you prefer.
If you decide on the good old-fashioned Paper Invitation, then you will want to download it as a PDF Print. This will give you the best version for printing.
You can then either go through a printing company or shop or print at home. I recommend choosing to print at a store as their printers will give a high-quality result.
Printing on Watercolor Paper Tip!
I love to print my invitations on watercolor paper for an expensive-looking finish. Unfortunately, my printers don’t have watercolor paper as an option.
They do however allow watercolor paper to be used as long as its GSM is within what their printers can handle. You can check and see if your printers will do the same.
To do this I purchase a pad of watercolor paper, if it has a glue edge I trim it off, and then print my design.
Step 10: And You’re Done!
And Congratulations! You have completed all the steps to create your own birthday invitation!
I hope this post has been helpful to you as you take your first step in your party organising journey.
The invitation as seen in this post can be purchased through my Etsy shop GatheringGlee.