Hanging flower arrangements are a stunning addition to any event. They can fill space otherwise overlooked, are timeless and can be made by anyone for a very low price. By following this step-by-step guide you can create a unique and timeless floral wreath perfect for your next birthday, wedding, brunch etc.

Flowers are like God’s gift of beauty to the natural world. Flowers or foliage can be used in any decor to add natural elegance.
What I love about these hanging flower arrangements is that they are simple, budget-friendly and super fun to arrange.
In this tutorial, you will learn what materials you’ll need, step-by-step construction, and how I recommend hanging it.
After reading this post you will be ready to make your very own hanging flower wreath for your next party!
How To Make Hanging Flower Arrangements
Materials:
- Chicken wire
- Gardening wire
- Wire cutters
- Greenery
- Flowers
- Strong fishing line
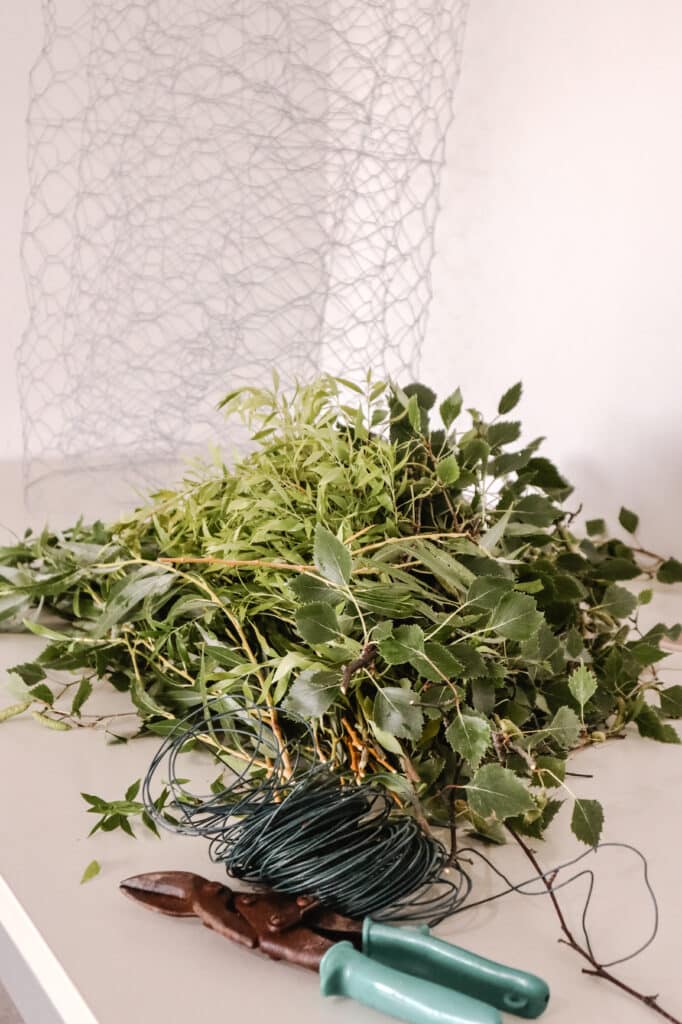
Step 1: Choosing Flowers & Foliage
When gathering your foliage, remember that most of it will be used for stuffing. The stuffing greenery doesn’t need to be pretty.
You will want pretty leaves for the outside of your wreath. For the body of the wreath, you will use fuller branches and then use hanging branches or vines to drape down. Willow branches are perfect for this!
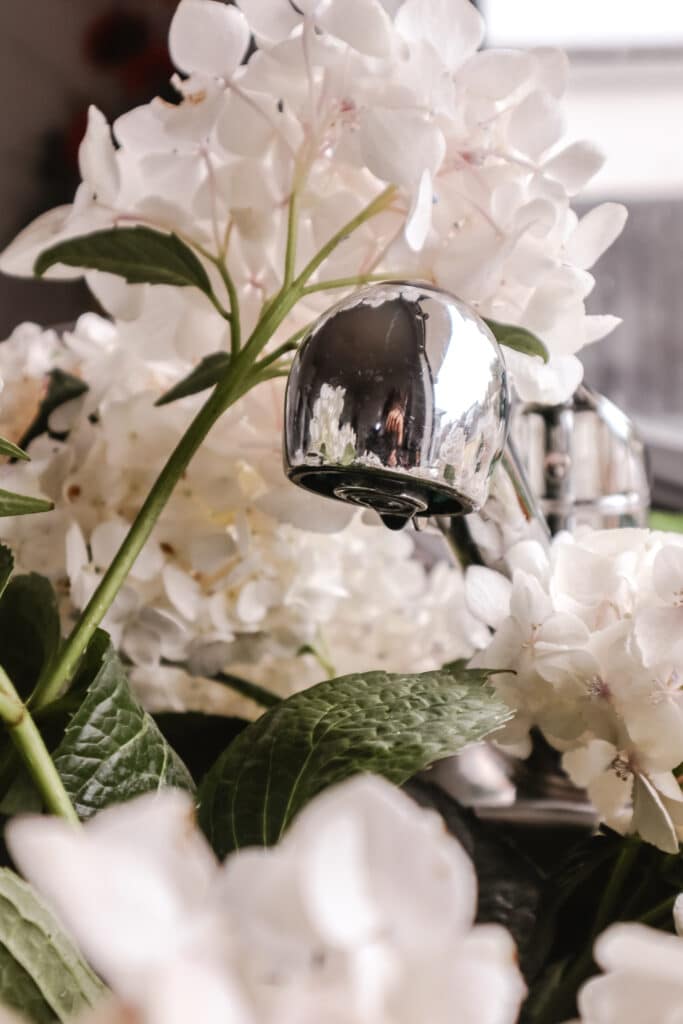
I choose to use just hydrangeas for this project, but you can use any variety or mix of flowers to create a unique arrangement.
Step 2: Shaping Your Wreath
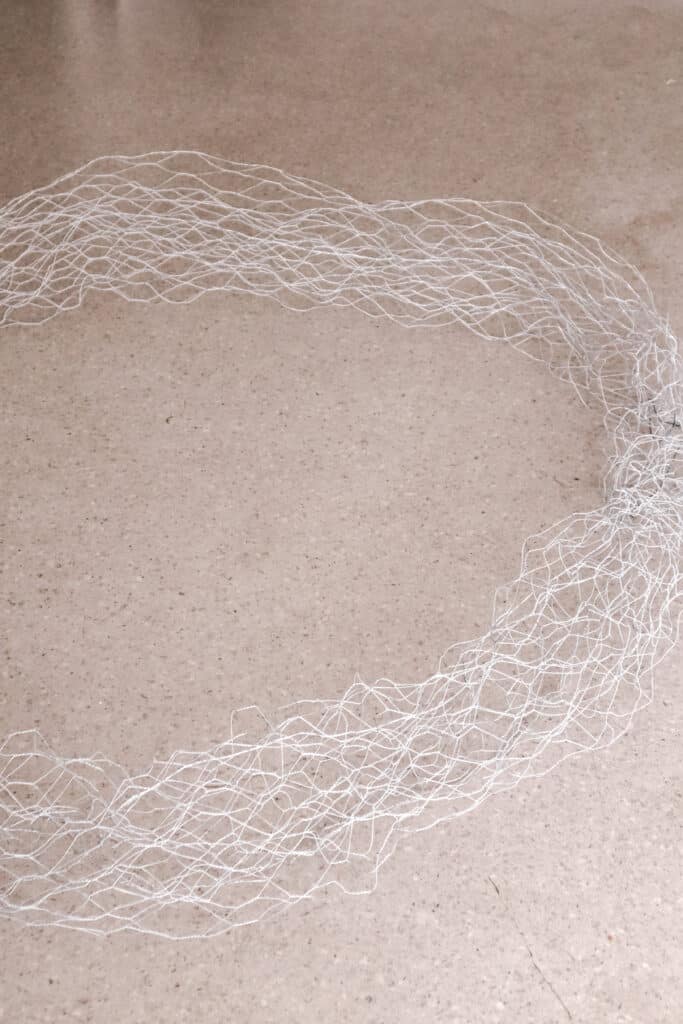
Decide how large you want your circumference of the wreath, then cut your chicken wire to that length.
Next, roughly roll the wire lengthwise to create a very long cylinder shape. Bend this into a circle, then use gardening wire to attach both ends together.
Continue to bend your wire until you are happy with the shape of the circle.
Step 3: Fill With Foliage
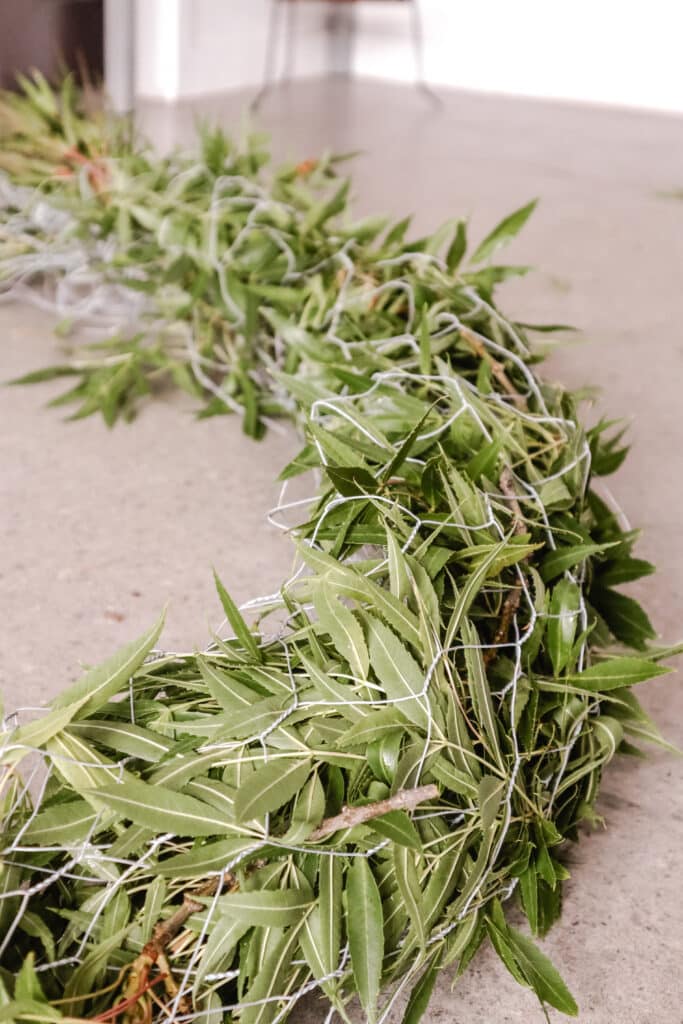
You will now stuff the inside of the chicken wire with greenery. This will give your outer layer something to hold onto.
Continue to add greenery until your wreath is full and thick.
Step 4: Prepare Your Flowers
This step is optional, however, if your wreath is being prepared 5-10 hours prior to being used, you may be in danger of having your flowers wilt.
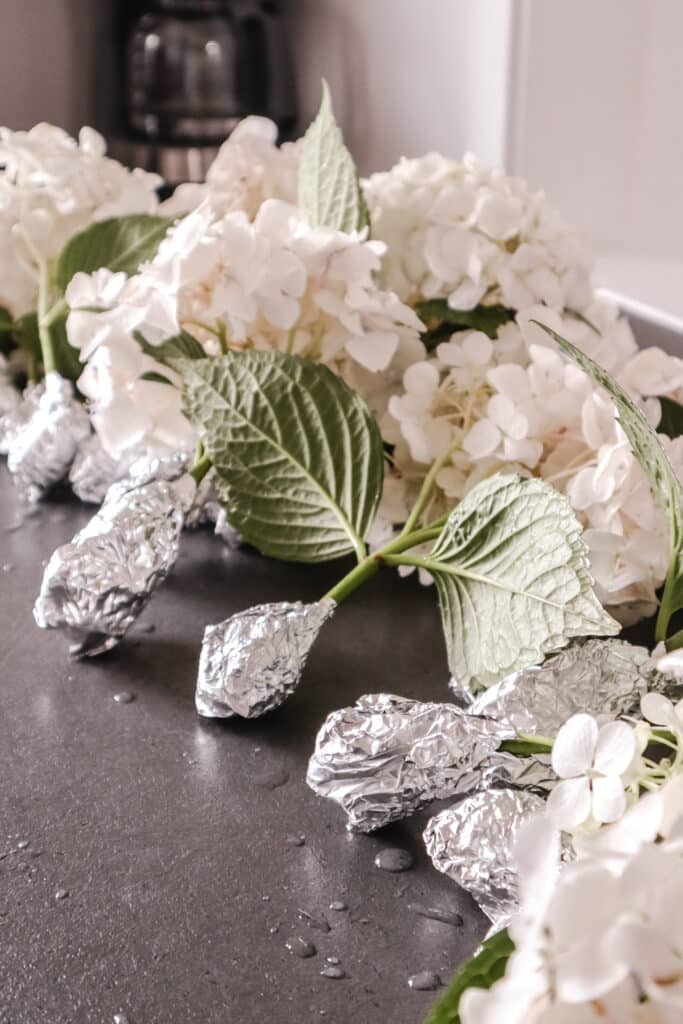
If you’re using hydrangeas or another flower variety with thick stems, giving them their own makeshift vases will allow them to look fresher for longer.
You can do this by wetting a paper towel and wrapping it around the stem of a flower. You will then wrap a small square of tin foil around the paper towel, tightly pinching it to hold to the stem.
Repeat this for each flower.
Step 5: Add Outer Flowers and Foliage
Now for the fun part! Begin placing your flowers and foliage.
Beginning with the flowers, place them into your wreath by burying their stems deep into the filling.
Next, add your leafy branches around the flowers, covering all the chicken wire. You can also pull-out parts of the filling to add fullness.
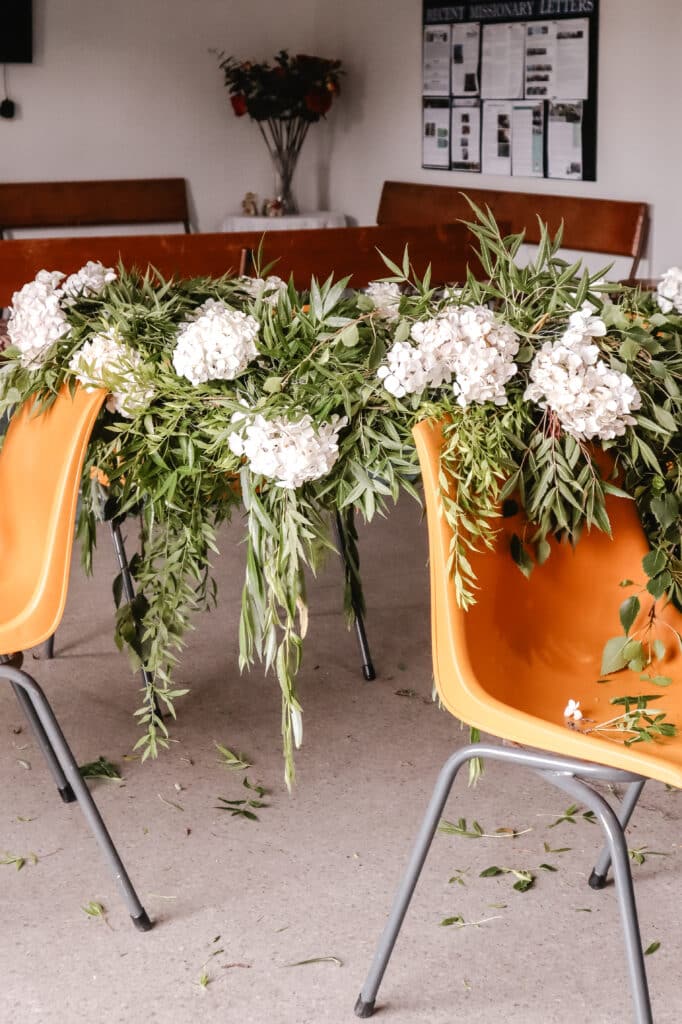
Lastly, add your hanging vines or branches. To do this turn your wreath upside down so the best side is facing down. Place it on stools or edges of chairs so the bottom is still accessible.
Weave your hanging branches through the wires so they are secure, leaving different lengths of leaves to hang free.
A final but beautiful touch is to add battery-powered fairy lights to the outside of your flower arrangement.
Step 6: Hanging Your Wreath
Using your fishing line, securely fasten it to four equal corners of your wreath. Make sure the length of your line will be long enough to reach your fastening points.
You hopefully pre-choose where you would be suspending your arrangement from. It will need somewhere with four anchor points.
Because every ceiling is unique, my only tip is to rest your wreath at the height it will hang, before you begin to tie it to the anchor points.
We did this by stacking chairs followed by a tabletop and then resting our wreath on that. Once all your lines are tied, you should be able to remove the stack leaving your wreath to hang.
And you’re finished! If you’d like to know more about the event where this wreath was used check out my post: Ultimate Guide to Hosting a Youth Banquet